Have you ever wondered if you can replace the rubber grip on your Milwaukee power tools? Maybe you've noticed the grip wearing down or becoming uncomfortable during those long hours of work.
You're not alone. Many tool enthusiasts and professionals face the same issue. Imagine restoring your tools to their original comfort and performance level, enhancing your experience and productivity. In this guide, we'll uncover the possibilities and steps you can take to replace that worn-out grip.
You'll discover how to extend the life of your tools and ensure every project feels as smooth as the first time you used them. Keep reading to find out how a simple change can make a world of difference in your daily work routine.
Assessing The Need For Replacement
Milwaukee power tools are renowned for their durability. Yet, over time, the rubber grip may need replacement. Assessing the need for replacement is crucial. A worn-out grip can affect the tool's efficiency. It can also impact user safety. Regular checks can ensure your tool performs optimally.
Signs Of Wear And Tear
Look for visible cracks or splits in the grip. These are clear signs of wear. A grip that feels loose or slippery is another indicator. Discoloration or peeling can also signal aging. Regular use can lead to these issues. Recognizing them early can prevent bigger problems.
Impact On Tool Performance
A damaged grip affects control. It can cause user strain and fatigue. Reduced grip can lead to inaccurate work. It may also increase vibration during use. This can shorten the tool's lifespan. Ensuring a firm grip maintains tool efficiency. Replace grips to keep your tool in top condition.
Choosing The Right Replacement Grip
Choosing the right replacement grip for Milwaukee power tools can enhance comfort and performance. A well-chosen grip can make a significant difference in how the tool feels in your hand. It can also affect your work efficiency. Explore options carefully to find the best fit for your needs.
Compatible Models
Not all grips fit every Milwaukee tool model. Check compatibility before buying. Look for grips specifically designed for your tool model. This ensures a snug fit and optimal functionality. Compatibility information is usually available on the product packaging or website.
Material Options
Replacement grips come in various materials. Rubber and silicone are popular choices. Rubber offers a firm hold and shock absorption. Silicone is softer and provides a comfortable grip. Consider what feels best in your hand. Material choice affects ease of use and comfort.
Durability Considerations
Durability matters for replacement grips. A durable grip withstands wear and tear. It maintains its shape and texture over time. Choose materials known for their resilience. Test the grip if possible to ensure it holds up during heavy use. A durable grip prolongs the life of your tool.
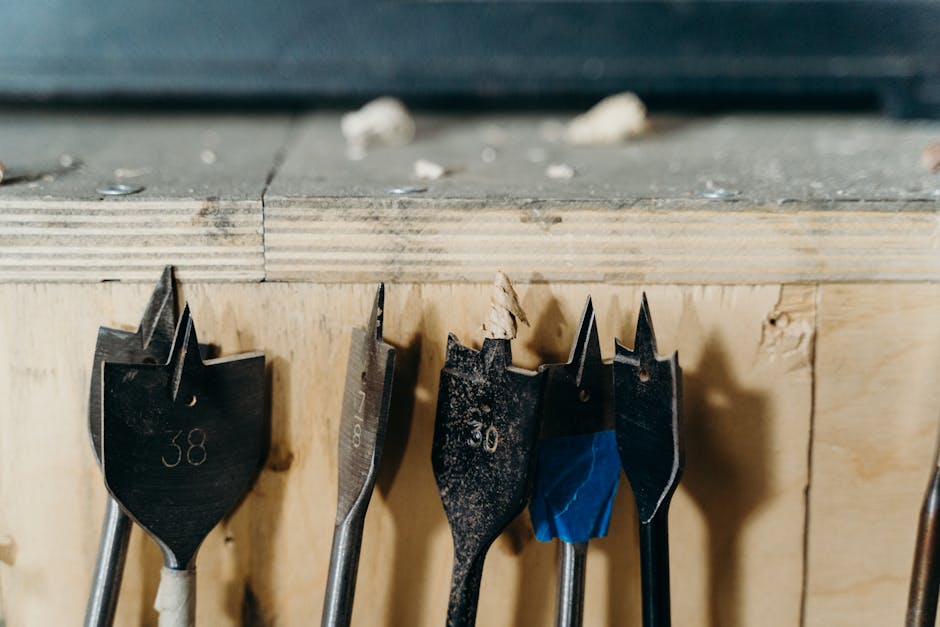
Tools And Materials Required
Replacing the rubber grip on Milwaukee power tools requires a few basic tools and materials. A screwdriver, replacement grip, and adhesive will suffice. Ensure you choose the correct size and type of grip for your tool model.
Replacing the rubber grip on your Milwaukee power tools can be a satisfying DIY project, giving your tools a fresh feel and better usability. But where do you start? Knowing the tools and materials required is crucial for a seamless replacement process. With the right equipment, you'll be on your way to restoring your power tools in no time.
Essential Tools
To replace the rubber grip, you'll need a few essential tools. A screwdriver is indispensable for removing screws that secure the old grip. Depending on your tool model, you might need a Phillips or flathead screwdriver. A utility knife is helpful for cutting and peeling off the old rubber grip, especially if it's worn out or stuck. Ensure it's sharp for clean cuts. Finally, a pair of pliers can assist with stubborn sections that refuse to budge. They provide the grip needed to pull off the old material without damaging the tool itself.
Recommended Materials
Choosing the right materials can make the replacement process smoother. New rubber grips specifically designed for Milwaukee tools are recommended, ensuring compatibility and durability. Check the packaging or online product descriptions for compatibility with your specific model. Adhesive is essential for securing the new grip. A strong, weather-resistant adhesive will keep your grip firmly in place during intensive use. Consider using a product like contact cement, known for its reliability. Don't forget protective gloves. They might seem trivial but can prevent cuts and blisters, making the task much more comfortable. Have you ever struggled with slipping grips during a project? Replacing them can transform your tool experience, providing stability and comfort. What tools and materials do you find indispensable for such DIY projects?
Step-by-step Replacement Guide
Learn how to replace the rubber grip on Milwaukee power tools with ease. This step-by-step guide simplifies the process for all users. Enhance your tool's comfort and functionality effortlessly.
Are you tired of the worn-out rubber grip on your Milwaukee power tools? Replacing the grip can breathe new life into your tools, making them more comfortable and safer to use. Whether you're a seasoned DIY enthusiast or a beginner, you can tackle this project with ease. Let's dive into a step-by-step replacement guide that will have your tools feeling brand new.
Removing The Old Grip
Start by ensuring your tool is turned off and unplugged. Safety first! Use a utility knife to carefully cut through the old rubber grip. Make sure to slice along the seam to avoid damaging the tool itself. Once the grip is cut, peel it away from the tool. You might find some adhesive residue left behind. Use rubbing alcohol or a mild solvent to clean this off. This ensures a smooth surface for the new grip.
Preparing The Tool Surface
With the old grip removed, it's time to prepare the tool surface. Check for any dirt or debris that might prevent the new grip from adhering properly. A clean surface is crucial for a snug fit. Wipe down the tool with a damp cloth. Let it dry completely before moving on. A dry surface ensures maximum adhesion of the new grip.
Installing The New Grip
Now that your tool is prepped, it's time to install the new grip. Align the grip with the handle of your tool. Make sure it's positioned correctly before proceeding. Use a gentle twisting motion to slide the grip onto the handle. If it's a tight fit, a bit of soapy water can help ease it on. Just make sure to dry it completely afterward. Secure the grip in place. Some grips come with adhesive, while others might require a heat gun to shrink them into place. Follow the instructions provided with your specific grip for the best results. Replacing the grip on your Milwaukee power tools can be a satisfying DIY project. Have you ever tackled a similar task and discovered an unexpected trick that made it easier? Share your experiences and keep your tools in top shape!
Common Challenges And Solutions
Replacing the rubber grip on Milwaukee power tools can be tricky. Many enthusiasts face common challenges in this task. Understanding these challenges and their solutions is crucial for success.
Handling Stubborn Adhesives
One major issue is removing old adhesives. These adhesives often stick tightly to the tool's surface. Use a hairdryer to soften the adhesive. This makes it easier to peel off. Be careful not to overheat the tool. A plastic scraper can then help lift the remaining residue. For stubborn spots, a bit of rubbing alcohol works well. It dissolves the glue without harming the tool.
Ensuring A Snug Fit
A snug fit is vital for the new grip. Measure the tool handle accurately before buying a new grip. Ensure the replacement grip matches these measurements. If the grip is too loose, the tool becomes hard to control. A grip that’s too tight may not fit at all. To achieve a good fit, gently stretch the grip over the handle. Start from one end and gradually work to the other. Take your time to smooth out any wrinkles. This ensures a comfortable and secure hold.
Maintenance Tips For Longevity
Proper maintenance ensures the longevity of your Milwaukee power tools. A well-maintained tool performs better and lasts longer. Regular upkeep prevents unnecessary wear and tear. Here, we explore some essential maintenance tips.
Regular Cleaning
Dust and debris can harm your tools. Clean them after every use. Use a damp cloth to wipe surfaces. Avoid harsh chemicals. They may damage rubber grips. Inspect the tools for any residue. Pay attention to crevices. Use a brush for hard-to-reach areas.
Storage Advice
Store tools in a dry place. Moisture can damage components. A toolbox or cabinet works well. Ensure your storage area is clean. Avoid stacking tools. This can stress the rubber grips. Use hangers for heavy tools. They prevent unnecessary pressure.
When To Seek Professional Help
Replacing the rubber grip on Milwaukee power tools can be tricky. Consider seeking professional help if the grip is damaged or you lack the right tools. A professional ensures the replacement is secure and the tool functions safely.
When the rubber grip on your Milwaukee power tool wears out, replacing it might seem easy. Sometimes, the task requires special skills. Knowing when to seek professional help ensures the tool works efficiently and safely. This section will guide you through situations demanding expert intervention.
Complex Repair Needs
Certain repair tasks need advanced knowledge. If the rubber grip replacement involves intricate internal components, consult a professional. Experts handle complex repairs with precision. They have the tools and training needed for such jobs. Trying complex repairs alone might damage the tool further. Professionals ensure the repair is done correctly.
Avoiding Warranty Voids
Incorrect repairs may void your warranty. Always check warranty conditions before attempting repairs yourself. Professional service centers follow guidelines. They perform repairs without affecting the warranty. Seeking professional help ensures your tool remains covered. Protect your investment by ensuring warranty terms are respected.
Frequently Asked Questions
How Do You Replace Milwaukee Tool Grips?
Replacing Milwaukee tool grips involves carefully removing the old grip. Use a suitable adhesive to attach the new rubber grip. Ensure it's securely fitted to maintain tool functionality. Follow manufacturer's guidelines for best results. If unsure, consult a professional for assistance.
Can You Buy Milwaukee Replacement Grips?
Yes, replacement grips for Milwaukee power tools are available. You can purchase them from authorized dealers or online platforms. Ensure compatibility with your specific tool model. Check for quality and durability before buying. It's important to use genuine parts for optimal performance.
Are Milwaukee Grips Interchangeable?
Milwaukee grips are not universally interchangeable. Compatibility depends on the specific model and tool type. Always check the manufacturer's specifications before attempting to swap grips. Using incorrect grips can affect tool performance and safety. Consult Milwaukee's customer service for precise information.
What Tools Are Needed For Grip Replacement?
For grip replacement, you'll need a screwdriver and adhesive. A utility knife may help remove old grips. Ensure safety by wearing gloves during the process. Follow Milwaukee's instructions for correct tool usage. Proper tools ensure a safe and efficient replacement process.
Conclusion
Replacing rubber grips on Milwaukee power tools is possible. It can extend tool life and improve comfort. Ensure you have the right replacement parts. Follow safety guidelines during the process. Check user manuals for detailed instructions. Don't rush the replacement; take your time.
A proper grip enhances control and efficiency. This maintenance task can save money over time. It keeps your tools in top shape. Consider professional help if unsure. A well-maintained tool performs better and lasts longer. Keep your tools ready for any project.