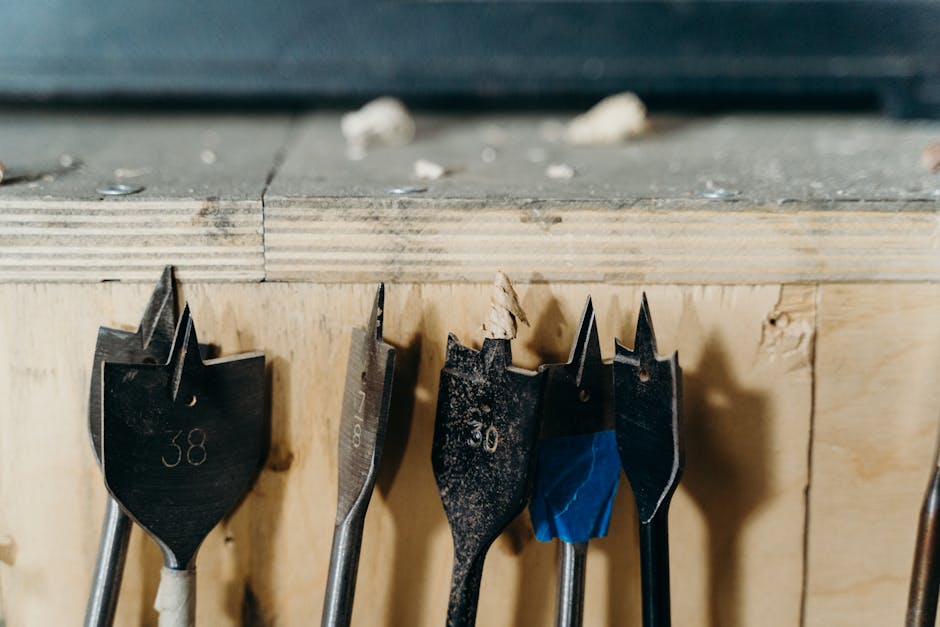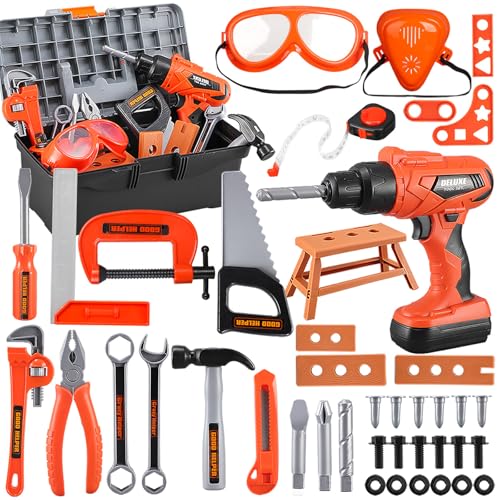
Have you ever looked at your power tools and thought they could use a little more personality? Maybe you're tired of their dull appearance or want them to stand out in your workshop.
The idea of spray painting your power tools might have crossed your mind. But can you actually do it without damaging them? We'll explore the possibilities and considerations of spray painting power tools. We'll guide you through what you need to know to make an informed decision.
Whether you're looking to add a splash of color or simply want to refresh your tools, keep reading to discover the do's and don'ts of giving your power tools a new look.
Reasons To Customize Power Tools
Customizing power tools with spray paint offers a personal touch and easy identification. It also helps in organizing tools, reducing the chance of misplacing them. With the right paint, you can refresh worn-out surfaces, making your tools look new again.
Customizing your power tools might seem like an unusual choice at first, but it offers several practical benefits. Whether you're a DIY enthusiast, a professional contractor, or someone who just loves a good project, personalizing your tools can be both fun and functional. Let's dive into some compelling reasons why you might want to spray paint and customize your power tools.
Personalization Benefits
Personalizing your power tools allows you to express your unique style. Imagine being able to identify your drill just by its color among a pile of identical tools. You can match the color to your brand, or even just your favorite shade, making your tools a reflection of your personality. Spray painting your tools could be a simple yet effective way to make them uniquely yours.
Improving Tool Visibility
Have you ever spent precious minutes searching for a tool that blends in with the clutter of your workshop? Customizing your tools with bright colors can significantly improve their visibility. Brightly colored tools stand out, making them easier to spot quickly, especially in a busy work environment. This simple change can save you time and frustration, allowing you to focus more on the task at hand.
Preventing Theft
Tool theft is a common issue both on job sites and in personal workshops. Custom-painted tools act as a deterrent to potential thieves. Unique colors or designs make stolen tools easily recognizable, making it harder for thieves to sell or pass them off as their own. Have you ever thought about how much easier it would be to identify your tools if they had a unique look? Incorporating these simple customizations can make a significant difference in your daily work life. Whether it's about adding a personal touch, making your tools more visible, or preventing theft, spray painting your power tools is worth considering.
Choosing The Right Paint
Choosing the right paint for your power tools can be a game-changer. It not only transforms their appearance but also extends their lifespan, offering protection against rust and wear. However, selecting the wrong type of paint can lead to damage, reducing the efficiency of your tools. So, how do you make the right choice? Let’s dive into the types of paint suitable for tools, the benefits of using spray paint, and the pitfalls to avoid.
Types Of Paint Suitable For Tools
When picking paint for your power tools, consider durability and adhesion. Enamel paint is a fantastic option, known for its hard-wearing properties. It adheres well to metal surfaces, providing a glossy finish that stands up to heavy use.
Acrylic paint can work too, especially if you prioritize ease of application and quick drying. It offers a decent level of protection but may not be as tough as enamel.
Have you thought about epoxy paint? It's a powerhouse for protection and resistance against chemicals and abrasion. If your tools are exposed to harsh environments, this might be your best bet.
Benefits Of Using Spray Paint
Spray paint is a convenient choice for power tools. It ensures an even coating, minimizing brush marks and streaks. This can be particularly useful for intricate tool designs.
Speed is another advantage. Spray paint dries faster than traditional paint, allowing you to get back to work quickly. Plus, it’s easy to apply, even for beginners.
What about customization? With spray paint, you can choose from a wide array of colors and finishes, giving your tools a unique look that stands out.
Avoiding Paints That Cause Damage
Not all paints are safe for power tools. Avoid latex paint; it lacks the durability required for tool surfaces and can peel easily under stress.
Oil-based paints might seem like a strong choice, but they can react adversely with certain tool materials, causing corrosion or weakening.
Consider the tool's exposure to chemicals and heat. Paints that aren't resistant can chip away, leading to costly repairs. Have you ever faced a similar issue? Make sure you choose wisely to prevent future problems.
By considering these factors, you can effectively enhance your power tools, ensuring they not only look good but perform well, too. What paint will you choose for your next project?
Preparing Tools For Painting
Spray painting power tools can refresh their look and add a protective layer. First, clean the tools thoroughly to remove dirt and grease. Use painter's tape to cover areas you don't want painted. Choose a paint suitable for metal surfaces for the best results.
Before you think about giving your power tools a fresh look with spray paint, it's crucial to get them ready. Proper preparation can make a world of difference in the final result, ensuring a smooth, long-lasting finish. By focusing on cleaning, masking, and sanding, you can set the stage for a paint job that looks professional and holds up over time.
Cleaning And Degreasing
Start by cleaning your power tools thoroughly. Dust and grime can prevent paint from sticking. Use a mild soap solution and a soft brush to scrub the surfaces. After washing, make sure to degrease the tools. Even a slight residue of oil can ruin your paint job. A degreaser or rubbing alcohol will do the trick. Have you ever painted over a greasy surface only to watch the paint peel off? It's frustrating, but avoidable with this simple step.
Masking Sensitive Areas
Not all parts of your power tools should be painted. Sensitive areas like buttons, vents, and logos need protection. Use masking tape to cover these areas. It’s a simple task but makes a huge difference in the final appearance. Consider taking the time to use a sharp blade to trim the tape precisely. This ensures clean lines and prevents accidental paint on unwanted areas.
Sanding For Better Adhesion
Before spraying, sand the surfaces lightly. This helps the paint adhere better. Fine-grit sandpaper is ideal for this task. It roughens the surface just enough without causing damage. Have you noticed how a well-sanded surface can make paint stick better? It's a small step with a big payoff. When preparing your tools for painting, each step plays a role in the overall success. Do you see how skipping even one step could affect your results? Take the time to prepare, and you'll love the outcome.
Spray Painting Techniques
Spray painting power tools can give them a fresh look. It can also protect them from rust. This process requires careful planning and execution. The right techniques ensure the paint lasts longer and looks smooth.
Selecting The Right Environment
Choose a clean, well-ventilated space. Dust and dirt can ruin the finish. Avoid spraying in windy areas. Wind can cause uneven paint. Indoors with good ventilation is ideal.
Applying Primer For Longevity
Primer is essential for durability. It helps the paint stick better. Use a primer meant for metal surfaces. This prevents chipping and peeling. Apply a thin layer evenly. Let it dry completely before painting.
Layering Paint For Best Results
Thin layers of paint give the best finish. Start with a light coat. Allow it to dry before adding another. Multiple thin layers prevent drips. This technique gives a smooth, even surface. Let each layer dry thoroughly.
Drying And Curing Process
Spray painting power tools requires careful drying and curing. Proper drying prevents damage and ensures a smooth finish. Curing helps the paint adhere well, enhancing durability.
Spraying paint on power tools can refresh their appearance and protect them from rust. However, the drying and curing process is crucial for a durable finish. If you're eager to get back to using your tools, patience is key. Let’s dive into how you can ensure your painted power tools are ready for action.
Recommended Drying Times
Different paints have varied drying times. Typically, spray paint feels dry to the touch within 20-30 minutes. However, this is not the time to handle your tools. For a more robust finish, let the paint dry for at least 24 hours. Consider the environment. Humidity and temperature can affect drying times. If it's humid, you might need to wait a bit longer.
Ensuring Full Curing
Curing is different from drying. It means the paint has fully hardened, forming a tough, resilient coat. This can take days or even weeks. Check the paint can for specific curing times. If you’re unsure, a general rule is to wait seven days. This ensures your tools are ready for the rigors of use. Avoid stacking or heavily using tools until they are fully cured. It prevents dents and scratches, ensuring your hard work lasts.
Tips For Faster Drying
If you're in a hurry, there are ways to speed up drying. Use a fan to circulate air around the tools. A fan helps evaporate moisture more quickly. Place your tools in a warm, dry location. Avoid direct sunlight, as it can cause the paint to blister. Consider using a heat lamp for small tools. Just keep a safe distance to prevent overheating. Ever rushed a painting project, only to see it smudge? The frustration is real! Patience and these tips can help you avoid that headache. How do you plan to speed up your drying process? Share your thoughts in the comments!
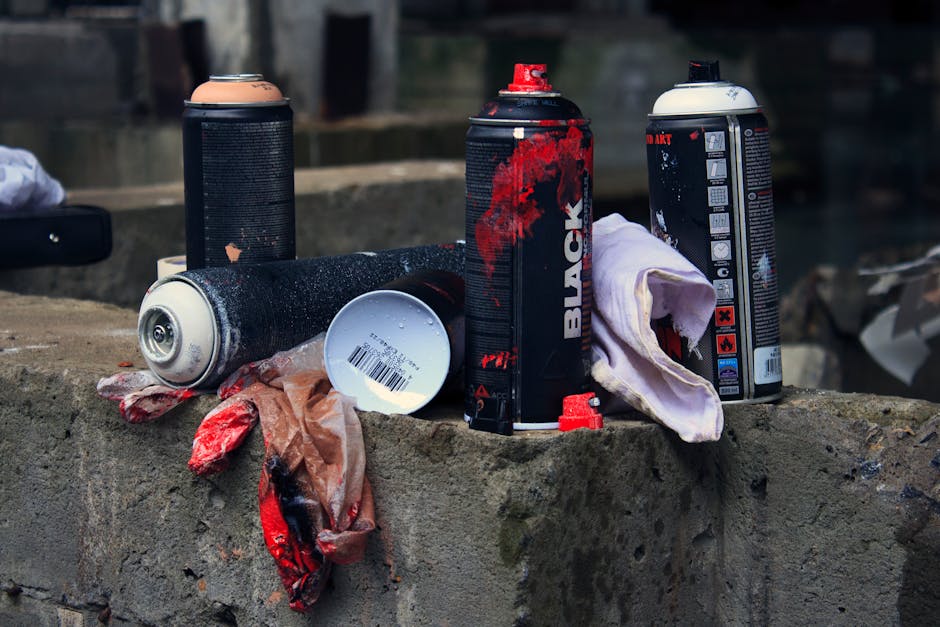
Safety Precautions
Spraying paint on power tools requires careful preparation to ensure safety. Always wear protective gear like masks and gloves. Ensure the tool is unplugged and clean before painting to avoid any hazards.
When it comes to spray painting power tools, safety should be your top priority. It's easy to get caught up in the excitement of giving your tools a fresh look, but neglecting safety can lead to unwanted accidents. Whether you're a seasoned DIY enthusiast or a first-time painter, understanding and adhering to safety precautions is crucial.
Protective Gear Essentials
Before you even think about shaking that can of spray paint, make sure you're equipped with the right protective gear. Goggles are a must to protect your eyes from paint splatters. Gloves will keep your hands clean and safe from harsh chemicals. Don't forget a mask or respirator to prevent inhaling toxic fumes. I once skipped wearing a mask, thinking it would be a quick job. The headache I got afterward taught me never to make that mistake again.
Ventilation Importance
Spray painting in a confined space can be hazardous due to the fumes. Always work in a well-ventilated area to minimize inhaling these fumes. If you're indoors, open windows and doors to create a cross breeze. Using a fan to circulate air can also help. Have you ever thought about how fresh air can change your mood? It does the same for your safety when painting. Remember, paint fumes are not just unpleasant—they're dangerous.
Handling Paints Safely
Handling spray paints requires careful attention. Shake the can well before use to ensure even distribution of paint. Store paints in a cool, dry place, away from direct sunlight or heat sources. Read the instructions on the can for proper usage and disposal. Did you know improper disposal of spray cans can harm the environment? Always follow local regulations for disposal to keep both yourself and the planet safe. By taking these safety precautions seriously, you can enjoy a smooth and secure painting experience. What safety tip resonates most with you? Share your thoughts and experiences in the comments below.
Maintaining Painted Tools
Spray painting power tools can refresh their look and protect them. Choose a durable spray paint suitable for metal surfaces. Ensure the tools are clean and dry before painting for the best results. Proper ventilation is crucial during the painting process.
Maintaining painted power tools extends their lifespan and keeps them looking fresh. The paint adds a layer of protection against rust and wear. Proper maintenance ensures the paint stays intact, preserving the tool's functionality. Let's explore some effective ways to maintain your painted power tools.
Cleaning Without Damaging Paint
Clean your tools regularly to remove dust and grime. Use a soft cloth dampened with mild soap and water. Avoid abrasive cleaners that might scratch the paint. Gently wipe the surface and dry it with a clean towel. This simple routine helps maintain the tool's appearance.
Touch-up Tips
Scratches and chips can occur over time. Keep a matching paint pen or small brush handy. Lightly sand the damaged area before applying paint. This ensures better adhesion. Apply thin coats and let each layer dry completely. This method helps restore the tool's look effortlessly.
Long-term Care Strategies
Store painted tools in a dry, cool place. Avoid exposing them to moisture or direct sunlight. Use protective covers to shield them from dust. Regularly inspect your tools for any signs of paint damage. Address issues promptly to prevent further deterioration. These strategies will keep your tools in top condition for years.
Frequently Asked Questions
Is Spray Painting Power Tools Safe?
Spray painting power tools is generally safe if done properly. Ensure the tools are unplugged and clean before painting. Use paint suitable for metal or plastic surfaces and apply thin layers. Proper ventilation is crucial to avoid inhaling fumes. Always wear protective gear to safeguard your skin and eyes.
Can Spray Paint Affect Tool Performance?
Spray paint can affect tool performance if not applied correctly. Avoid painting moving parts, vents, and electrical components. Improper application may hinder functionality or cause overheating. It's essential to follow manufacturer's guidelines and test the tool after painting to ensure it operates smoothly without any issues.
What Type Of Paint Is Best For Tools?
The best paint for tools is durable enamel or acrylic spray paint. These types adhere well to metal and plastic surfaces. They provide a long-lasting finish and resist chipping and fading. Ensure the paint is suitable for the specific material of your tool for optimal results and longevity.
How Do You Prepare Tools For Painting?
Prepare tools by cleaning them thoroughly and removing any dust or grease. Sand the surface lightly to ensure paint adhesion. Cover any parts that should not be painted, such as buttons and vents. Proper preparation ensures a smooth, even finish and enhances the paint's durability.
Conclusion
Spray painting power tools is possible with care and preparation. Ensure tools are clean before painting. Use the right paint for metal or plastic surfaces. Mask off any areas you don't want painted. Consider the tool's functionality after painting. Choose durable paint that withstands wear and tear.
Always prioritize safety by wearing protective gear. Ventilate your workspace properly. Painting can refresh old tools, giving them a new look. Remember, it's about maintaining function while enhancing appearance. So, paint wisely and enjoy your revamped tools!