
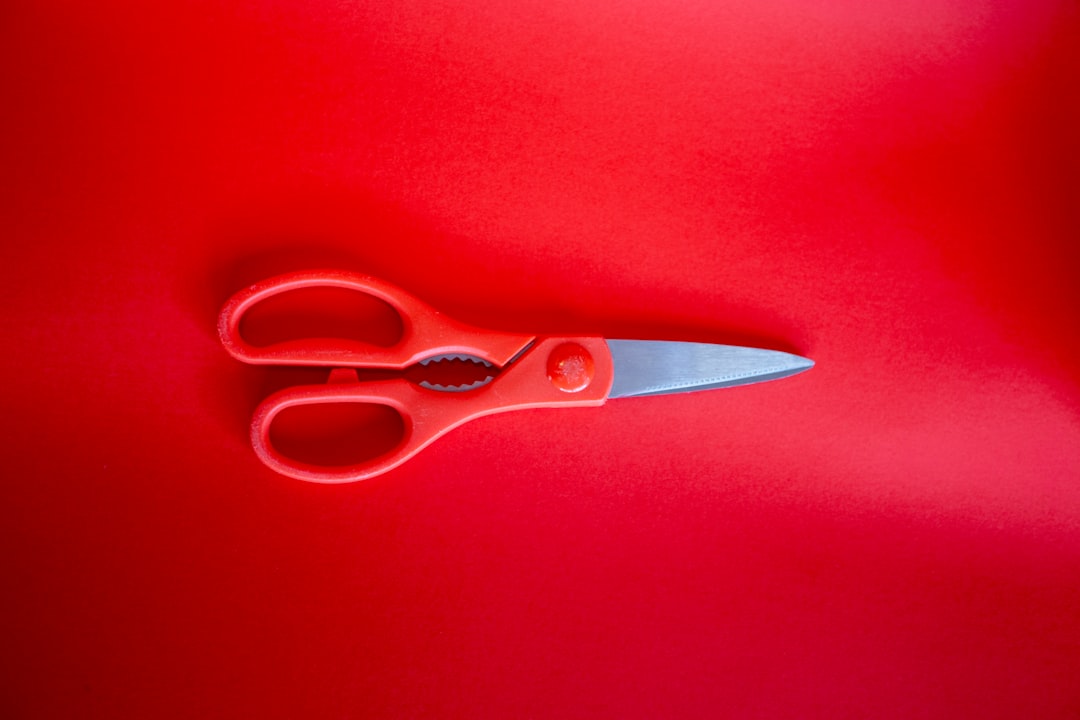
Imagine reaching for your trusty hammer or wrench, only to find it missing or mixed up with someone else's tools. Frustrating, right?
Whether you're a seasoned craftsman or a DIY enthusiast, keeping track of your tools is essential. But how do you make sure your tools stand out and never get lost in the shuffle? The secret lies in marking them permanently.
This guide is your ticket to discovering foolproof methods that ensure your tools are always identifiable, reducing the risk of loss or mix-up. By the end of this article, you'll have all the knowledge you need to permanently mark your tools, keeping them safe and uniquely yours. Ready to take control of your toolbox? Let's dive in.
Importance Of Tool Marking
Imagine spending hours searching for a missing wrench or screwdriver in the middle of a critical project. Tool marking can save you from such headaches. It ensures that every tool has a designated spot and is easily identifiable. This simple practice not only boosts efficiency but also enhances safety in your workspace.
Preventing Tool Loss
Tool loss is more common than you think. Marking tools can significantly reduce this problem. When tools are clearly marked, they're easier to spot and return to their rightful place. Consider using colored labels or engraved initials to make your tools stand out.
Enhancing Efficiency
Efficiency is key in any project. With marked tools, you eliminate time wasted searching for the right equipment. Imagine walking into your workshop and instantly grabbing what you need. A well-organized toolkit can make this a reality.
Improving Safety
Safety should never be compromised. Misplaced tools can be dangerous, leading to trips or falls. Clear markings help ensure tools are stored properly and reduce clutter. Have you ever tripped over a stray hammer? Tool marking can prevent that.
Facilitating Tool Management
Managing tools is simpler with clear markings. You can easily check if a tool is missing or misplaced. This is especially useful in shared workspaces. Have you thought about how much time you spend organizing tools? Marking them can streamline the process.
Personal Experience With Tool Marking
I once lost a valuable drill that was essential for a home improvement project. After hours of searching, I realized it was mixed up with a friend's tools. Since then, I've been marking every tool I own. It's a simple change that saved me stress and time. Have you ever considered how such a small practice can make a significant impact?
Start marking your tools today and see the difference it makes in your efficiency and safety. Remember, a small effort in organization can save you a lot of trouble down the line.
Popular Marking Methods
Ensuring tools are easily identifiable is crucial for organization and security. Many methods exist for permanently marking tools. These methods provide a reliable way to keep track of your equipment. Whether for personal use or in a professional setting, marking tools helps prevent loss and theft. Let's explore some popular marking techniques.
Engraving
Engraving involves cutting designs into the surface of a tool. This method uses a sharp tool or laser to create marks. It's favored for its durability and precision. Engraving is suitable for metal, wood, and plastic tools. It offers a permanent solution that withstands wear. Users can engrave serial numbers, names, or logos on their tools.
Stamping
Stamping uses a press to imprint designs onto the tool surface. This method is quick and effective for marking metal tools. A die with the desired design is pressed into the tool. Stamping creates a long-lasting mark that resists fading. It's ideal for marking large quantities of tools quickly.
Etching
Etching involves using chemicals to create designs on tool surfaces. This method is often used for metal tools. It offers detailed and intricate designs. Etching is less durable than engraving but still effective. It allows for customization with logos or detailed patterns. Users need to handle chemicals carefully during the process.
Choosing The Right Tools For Marking
Choosing the right tools for marking ensures long-lasting identification. Proper marking can prevent mix-ups and loss. It is essential for anyone who uses tools regularly. Marking tools permanently can save time and money. But with so many options, it can be hard to choose the best one. Understanding your needs will help you select the right marking tool.
Material Considerations
The material of your tools affects your marking choice. Metal, plastic, and wood require different marking methods. For metal, engraving works best. It leaves a clear, permanent mark. Plastic may need specialized inks or labels. Wood can be marked with a wood-burning tool or permanent marker. Always consider the tool's surface before deciding.
Tool Durability
Durability matters when marking tools permanently. Choose high-quality marking tools for the best results. Engravers should be sturdy and reliable. Permanent markers should not fade easily. Consider weather-resistant materials if tools are used outside. This ensures the marks last and stay readable. Avoid tools that wear out quickly.
Step-by-step Marking Process
Marking your tools permanently is a smart move to keep them safe and organized. It's a simple process that can save you time and prevent loss. Whether you're a professional or a DIY enthusiast, knowing how to mark your tools can make a big difference in your workshop. Let's dive into the step-by-step marking process.
Preparation
Before you start, gather all the tools you want to mark. Ensure they're clean and dry. Dirt or moisture can affect the marking quality.
Next, choose your marking method. Options include engraving, using a permanent marker, or applying a sticker. Think about the tool's material and where you'll store it.
Have your marking supplies ready. This could be an engraver, markers, or labels. Keeping everything in one place prevents unnecessary delays.
Execution
Start by marking the most valuable tools. This creates a habit and ensures your most-used items are easy to identify.
Use clear and simple markings. Your initials or a unique symbol work well. Avoid complex designs as they can be hard to reproduce and might fade over time.
Place the mark where it's visible but doesn't interfere with the tool's use. On a hammer, the handle is a good spot, while a drill can be marked on its body.
Test the visibility of your mark. If you can't see it at a glance, consider redoing it or changing its position.
Consider your future needs. Will you add more tools? How will you mark them consistently? Planning ahead can save you effort later.
Have you ever lost a tool because it wasn't marked? How did that impact your work? Reflecting on these experiences can motivate you to be diligent in marking your tools.
Finally, take a moment to admire your organized collection. You've made an investment in your efficiency and peace of mind.
Safety Precautions
Marking tools permanently requires careful steps to ensure safety. Always wear protective gloves and goggles to avoid injuries. Secure the tool firmly before marking to prevent slips.
Ensuring that your tools are marked permanently is a practical way to maintain organization and prevent loss. However, it's crucial to prioritize safety during this process. Careful handling and understanding potential risks can prevent accidents and prolong the life of your tools. Let's explore some safety precautions you should take while marking your tools permanently.
Understand The Tool's Material
Different materials require different marking techniques. Metal tools might need engraving, while plastic might be best marked with a permanent marker. Always check the material of your tool before selecting a marking method. This not only ensures the mark lasts but also prevents damage to the tool.
Use Protective Gear
Safety gear isn't just for construction sites. When marking tools, especially when using engraving machines or chemical etching, wear protective goggles and gloves. This simple step can prevent injuries from metal shavings or chemical splashes.
Work In A Well-ventilated Area
Some marking methods, such as using permanent markers or chemical etching, can release fumes. Ensure you're working in a space with good air circulation. This reduces the risk of inhaling harmful substances, keeping you safe and healthy.
Secure Your Tools Properly
Have you ever tried engraving a moving object? It’s not only difficult but also dangerous. Use clamps or a vice to hold your tool in place while marking. This ensures precision and minimizes the risk of injury.
Follow Manufacturer’s Instructions
Tools and marking equipment often come with specific guidelines. Ignoring these can lead to damage or injury. Read and follow the instructions provided to ensure safe and effective tool marking.
Keep A First Aid Kit Nearby
Accidents can happen even with the best precautions. Having a first aid kit within reach allows for quick response to minor injuries. This can make a significant difference in preventing a small mishap from becoming a major issue.
Think About Future Use
Before marking, consider how the tool will be used in the future. Will the mark interfere with its function or safety? Ensure that your marking approach doesn’t compromise the tool’s effectiveness. By taking these safety precautions, you can confidently mark your tools without compromising your safety. Have you experienced any unexpected challenges while marking tools? Your insights could be invaluable to others embarking on the same task.
Maintaining Marked Tools
Maintaining marked tools ensures their longevity and effectiveness. Proper care prevents wear and tear. It keeps the markings visible. This section explores ways to maintain marked tools. Focus on cleaning techniques and regular inspections. These practices help preserve your tools.
Cleaning Techniques
Regular cleaning keeps tools in top condition. Use a soft cloth to wipe them down. Remove dirt and grime gently. Avoid harsh chemicals. They might damage the markings. Warm water and mild soap work well. Rinse thoroughly. Dry with a clean towel. Ensure no moisture remains. It prevents rust and corrosion.
Regular Inspections
Inspect tools frequently. Check for any fading marks. Look for chips or scratches. These can affect tool performance. Keep an eye on the handle condition. Tighten loose screws if needed. Examine for rust spots. Address them immediately. Regular checks maintain tool integrity. They ensure safety and reliability.
Common Mistakes To Avoid
Marking tools permanently can often result in mistakes. Many use the wrong type of marker or surface preparation. This leads to unclear marks or damage. Always ensure the tool surface is clean and use a permanent marker designed for that material.
When marking tools permanently, it's easy to fall into common pitfalls that can lead to mistakes. These errors might seem small, but they can have significant impacts on the durability and clarity of your markings. Being aware of these mistakes can help you ensure your tools are labeled effectively and lastingly.
1. Using The Wrong Type Of Marker
Choosing the right marker is crucial. Permanent markers might sound like the obvious choice, but not all are suitable for every surface. For example, a marker that works well on metal might fade quickly on plastic. Always test a small area first to ensure the ink adheres properly and doesn't smudge.
2. Skipping Surface Preparation
Before you start marking, make sure the tool's surface is clean and dry. Dirt, grease, and moisture can prevent the ink from sticking properly. A quick wipe with a cloth can make all the difference. When I first tried marking my tools, I skipped this step, and the ink started to peel off within days.
3. Overcomplicating Your Labels
Keep your labels simple and straightforward. Using complex codes or too much information can lead to confusion. Ask yourself if someone else could understand your markings at a glance. A simple label like "Wrench 1" is often more effective than a long, detailed description.
4. Ignoring Environmental Factors
Consider where your tools will be used. Tools exposed to sunlight or stored in damp areas require more durable markings. UV-resistant markers can prevent fading, and waterproof options ensure your labels stay intact. Think about the conditions your tools face daily and choose accordingly.
5. Neglecting To Review And Update
Once you've marked your tools, don't forget to review and update them regularly. Tools can change hands or their designated purpose might evolve over time. Regular checks can ensure your markings remain accurate and relevant. Avoiding these common mistakes can save you time and frustration in the long run. Are there any other pitfalls you've encountered when marking tools? Your experiences could help others on their journey to perfectly labeled tools.
Expert Tips For Long-lasting Marks
Mark tools permanently with expert tips like using engravers or paint pens. Choose durable, weather-resistant materials for lasting marks. Ensure clear visibility by selecting contrasting colors.
When you want to ensure that your tools stay organized and don't end up in someone else's toolbox, marking them permanently is essential. Temporary marks can fade or wear off, but with the right techniques, you can make your marks last. Here are some expert tips to help you achieve long-lasting marks on your tools.
Choose The Right Marking Tool
Selecting the appropriate marker is crucial. Permanent markers, like Sharpies, are popular, but industrial markers or paint pens may offer more durability. Consider the material of your tool; metal, plastic, and wood each have different requirements.
Prepare The Surface
Before marking, ensure the surface is clean and dry. Any dirt, grease, or moisture can affect the mark's longevity. A quick wipe with alcohol can make all the difference.
Consider Engraving For Metal Tools
Engraving is a reliable method for metal tools. It offers a permanent solution that doesn’t wear off easily. You can use an electric engraver or a simple engraving pen for this task.
Use Clear Coat For Extra Protection
A clear coat can seal your mark and protect it from wear and tear. Spray or paint a thin layer over the marking once it's dry. This adds an extra barrier against the elements.
Practice Consistency
Consistency in your marking method ensures that all your tools are easily identifiable. Decide on a specific place for marking each tool. This habit saves time when you are in a hurry.
Test Your Marks
After marking, test your tools in different environments. Will the mark withstand water, oil, or sun exposure? Knowing the answer ensures your method is effective.
Reflect On Your Needs
Ask yourself, what environments do your tools usually face? Tools in a workshop might need different marking techniques than those used outdoors. Tailor your approach based on your specific needs. With these actionable insights, you can keep your tools marked permanently. Have you tried any of these methods before? What worked best for you?
Future Trends In Tool Marking
Tool marking is evolving fast. New methods are emerging every year. This change is driven by technology. It is also driven by environmental concerns. Let's explore how these trends shape the future of tool marking.
Technological Advances
Technology is reshaping tool marking. Laser engraving is a popular method now. It offers precision and durability. This method is fast and efficient. QR codes are also gaining popularity. They store more data than traditional markings. Augmented reality helps workers identify tools quickly. It is changing how tools are tracked and used.
Eco-friendly Options
Environmental impact is important now. Many seek eco-friendly marking options. Water-based inks are a good choice. They are less harmful to the environment. Biodegradable labels are being used more. They break down naturally over time. These methods reduce waste. They help protect our planet while marking tools efficiently.
Frequently Asked Questions
How Can I Permanently Mark My Tools?
To permanently mark your tools, use engraving tools or metal stamps. These methods ensure lasting identification. Alternatively, you can use permanent markers for quick labeling. For a professional finish, consider electrochemical etching. This method is durable and precise, ideal for metal tools.
What Materials Are Best For Tool Marking?
Engraving works well on metal tools. For plastic and wood, consider using permanent markers or vinyl labels. These materials adhere well and resist wear. Always choose a method compatible with the tool's surface for the best results.
Are There Diy Methods For Marking Tools?
Yes, you can use DIY methods like permanent markers or custom stencils. For added durability, try metal stamps or simple engraving tools. These methods are cost-effective and can be done at home with basic supplies.
Why Should I Mark My Tools Permanently?
Permanent marking prevents theft and loss, ensuring tool identification. It helps in organizing your workspace and reducing mix-ups. Marked tools are easier to return when borrowed, saving time and money in the long run.
Conclusion
Marking tools permanently keeps them organized. This prevents mix-ups and theft. Simple methods like engraving or using durable tags work well. Choose the right method for your specific tools. Maintain clarity in labels for easy identification. Permanent markings save time and reduce stress.
Properly labeled tools boost efficiency in any workshop. Regular checks ensure markings remain visible. Invest time now for long-term benefits. Enjoy a more organized workspace. Keep tools marked and enjoy hassle-free workdays.








