Do you have a collection of old hand tools that look like they've seen better days? Whether you inherited them from a grandparent or found them at a garage sale, these tools hold stories and history.
But rust, grime, and dirt can hide their true value and functionality. Imagine restoring them to their former glory, bringing back their shine and making them useful once more. In this guide, you'll learn simple and effective techniques to clean and care for your old hand tools.
By the end, you'll have the knowledge to transform neglected relics into prized possessions. Discover how to give your tools a new lease on life, and enjoy the satisfaction of using something beautiful and functional that you revived yourself. Are you ready to roll up your sleeves and dive into the world of tool restoration? Let's get started!
Choosing The Right Cleaning Products
Selecting effective cleaning products ensures old hand tools regain their shine. Use gentle soaps and brushes for rust removal. Avoid harsh chemicals to prevent tool damage and maintain longevity.
Cleaning old hand tools is more than just a chore; it's a way to preserve history and breathe new life into your workshop. Choosing the right cleaning products is crucial to ensuring that your tools not only sparkle but remain functional for years to come. Selecting the appropriate products can make the difference between a tool that's merely clean and one that's truly rejuvenated.
Understanding Your Tool's Material
Before you grab a cleaning product, take a moment to consider the material of your tool. Is it primarily metal, wood, or a combination of both? Metal tools often require different cleaning solutions than wooden handles. For example, rust remover works wonders on metal but might damage wood. Knowing the composition helps you avoid mistakes that could degrade your tools.
Reading Product Labels
Product labels are your best friends when choosing cleaning products. They provide crucial information about the intended use and safety precautions. Look for products specifically designed for your tool's material. A simple check can prevent accidental damage and ensure your cleaning efforts are effective. Have you ever damaged a tool because you skipped this step?
Eco-friendly Options
Concerned about the environment? There are eco-friendly cleaning products available that are both effective and gentle on the planet. These products use natural ingredients to clean without the harsh chemicals found in traditional cleaners. You can maintain your tools and be kind to the environment at the same time. This choice might even inspire you to adopt more sustainable practices in other areas of your life.
Testing On A Small Area
Before applying any product to the entire tool, test it on a small, inconspicuous area. This helps you see how the cleaner interacts with the tool's surface. If the test area looks good, you can confidently clean the rest of the tool. This small step can save you from potential disasters, such as discoloration or surface damage.
Personal Experience With Cleaning Products
I once tried a heavy-duty cleaner on an antique saw, believing it would restore its shine. Instead, it stripped the finish off the handle, leaving it dull and rough. This taught me the importance of choosing the right product for each specific tool. Have you had a similar experience that emphasized the importance of making informed choices? Selecting the right cleaning products not only extends the life of your tools but also enhances their performance. By understanding your tools, reading labels, considering eco-friendly options, and testing products, you ensure a successful cleaning experience. Next time you clean your tools, think of the process as an investment in their longevity and your craftsmanship.
Preparing Tools For Cleaning
Gathering essential supplies is key for cleaning old hand tools effectively. Use a soft brush, mild soap, and clean cloths. These help remove dirt and rust, restoring the tools' original shine and functionality.
Preparing your old hand tools for cleaning is an essential first step in giving them new life. Before diving into the cleaning process, taking a few preparatory measures can make a significant difference. You’ll want to ensure the tools are in suitable condition for cleaning and that you won't cause any unintentional damage. Let's explore how to get your tools ready for a thorough cleaning.
Inspect For Damage
Start by carefully examining each tool. Look for any signs of rust, cracks, or wear that could affect its performance. Sometimes, you might find a tool that has been so neglected it’s beyond repair. It's crucial to identify these issues early on. This prevents further damage during cleaning. If you're like me, you might have learned this lesson the hard way—cleaning a cracked handle only to have it break apart completely.
Disassemble If Necessary
Some tools may need to be taken apart before cleaning. Disassembling allows you to reach all the nooks and crannies where grime tends to hide. This can be especially true for tools with moving parts like wrenches or pliers. Make sure you have a clear space to lay out all the parts. Keep a notepad handy to jot down the order of disassembly. This ensures you can reassemble the tool correctly. Remember the time I lost a crucial screw from a vintage screwdriver? Avoid that by being organized. As you prepare your tools, think about how these steps can prolong their lifespan. What condition are your tools in, and what will you do to restore them? Taking a few moments to prepare thoughtfully can make the entire process more rewarding and effective.
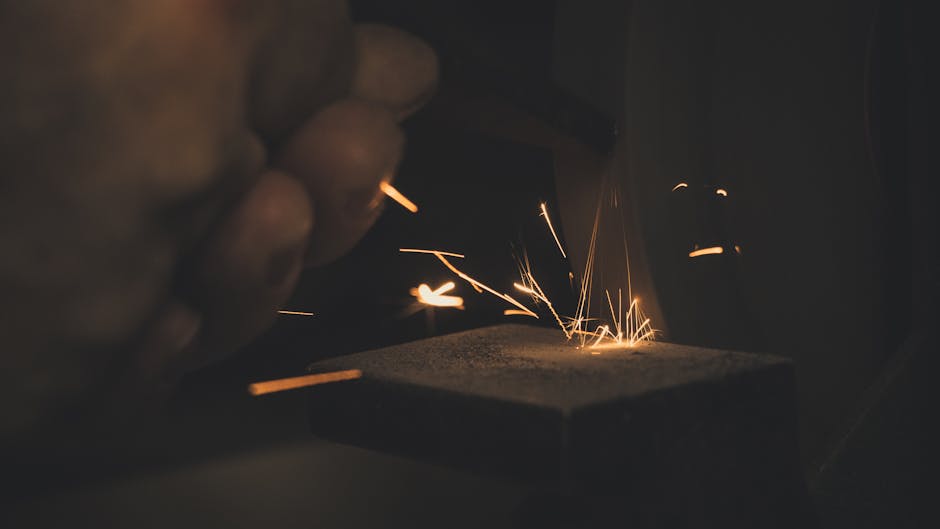
Removing Rust And Corrosion
Rust and corrosion can damage old hand tools. They make tools less effective. Bringing them back to life is possible. It just requires some simple methods. By removing rust, tools can look new. They will work better too. Here are some easy ways to remove rust and corrosion.
Use Of Vinegar And Baking Soda
Vinegar is an excellent choice for cleaning rust. It is easy to find. You can soak tools in vinegar overnight. This breaks down the rust. The next day, scrub them with a brush. Baking soda is another good option. Mix it with water to form a paste. Apply this paste to the rusty area. Let it sit for a few hours. Then scrub it off. Both methods are safe and effective.
Sandpaper And Steel Wool Techniques
Sandpaper can help remove rust. Choose a fine-grit sandpaper for this job. Gently rub the rusty areas. Move in a circular motion. This will not damage the tool. Steel wool is also useful. It can reach tight spaces. Scrub the rust gently. This method requires patience. But it gives great results. Tools will look shiny and new again.
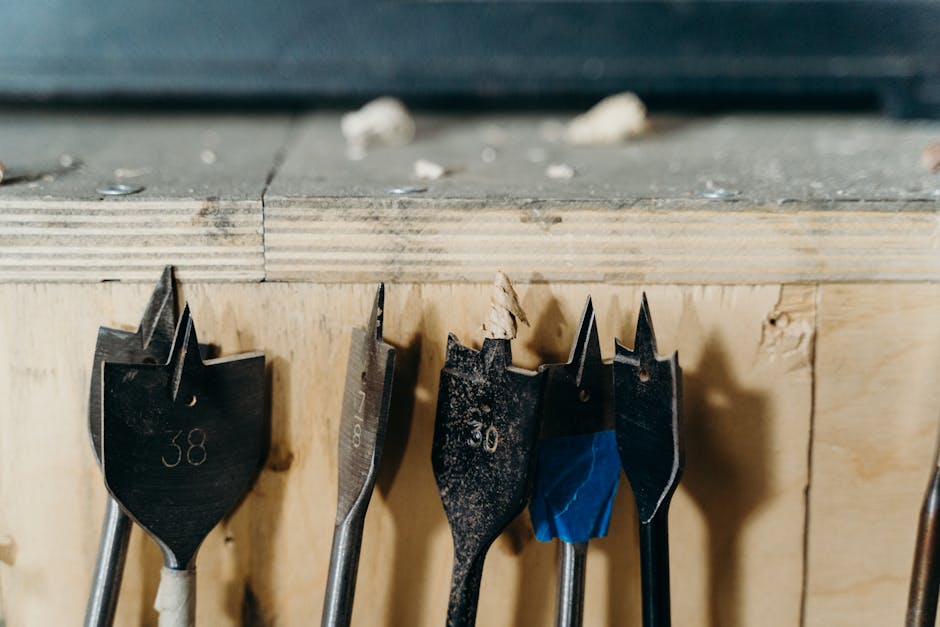
Cleaning Metal Surfaces
Old hand tools can lose their shine over time. Rust and dirt build up on metal surfaces. Cleaning these surfaces can bring your tools back to life. It improves their look and function. A few simple steps can make your tools look new again. Proper cleaning ensures long-lasting use.
Oils And Lubricants
Use oils to remove rust and dirt. Apply a few drops on a soft cloth. Gently rub the metal surface in circles. This helps lift off grime. Choose oils like mineral or WD-40. These are safe for metal and effective. Lubricants also prevent future rusting. They form a protective layer on the metal.
Polishing For Shine
Polishing gives tools a bright finish. Use a metal polish and a soft cloth. Apply a small amount of polish on the cloth. Rub the metal in small, circular motions. This removes fine scratches and dullness. It reveals a shiny, smooth surface. Regular polishing maintains the tool's shine.
Preserving Wooden Handles
Cleaning old hand tools begins by gently scrubbing wooden handles with mild soap and warm water. After drying, apply a thin coat of linseed oil to restore their natural shine. Regular maintenance helps preserve the beauty and functionality of the tools.
Preserving wooden handles on old hand tools is crucial for maintaining their functionality and extending their lifespan. These handles not only provide comfort but also play a significant role in the tool's performance. Over time, exposure to moisture and neglect can lead to wear and damage. Are you ready to give your tools a new lease on life?
Sanding And Refinishing
Start by examining the condition of the wooden handles. If they feel rough or have splinters, it's time for sanding. Use medium-grit sandpaper to gently smooth out the surface. Remember, you aren't looking to remove a lot of material, just enough to make it smooth to the touch. After sanding, wipe the handle with a damp cloth to remove any dust. This step is vital for ensuring the next layer adheres properly. Once dry, apply a coat of wood finish or varnish. Choose a product that matches the original color or enhances the natural grain of the wood. Let it dry completely before handling.
Applying Protective Oils
Oil application is an essential step in preserving wooden handles. It protects against moisture, which can cause the wood to swell or crack. Linseed oil is a popular choice, and for a good reason. It penetrates deep into the wood, providing long-lasting protection. Apply the oil with a clean cloth, rubbing it into the wood in circular motions. Make sure every part of the handle is coated. Allow the oil to soak in for at least 15 minutes, then wipe off any excess with a dry cloth. Repeat this process several times for optimal protection. Consider a routine of oiling your tools every few months. This simple act can make a big difference in the longevity of your hand tools. How often do you maintain your tool handles? Regular care today can save you the hassle of repairs tomorrow.
Reassembling And Testing Tools
Discover how to clean old hand tools effectively. Remove rust and grime with simple techniques. Ensure tools are ready for reassembly and testing. Keep them in top condition for future projects.
Reassembling and testing your old hand tools is a crucial step to ensure they function effectively and safely. After cleaning and restoring them, it's time to put them back together and check if they work as intended. This process is not just about fitting pieces together; it's about ensuring your tools are ready for action. You might be surprised at how much a slight misalignment can affect the tool's performance.
Proper Alignment
Proper alignment is key when reassembling your tools. Ensure all parts fit snugly and are aligned correctly. Misalignment can lead to uneven wear or even damage. Imagine putting together a puzzle where one piece doesn’t fit perfectly; it can ruin the whole picture. The same goes for your tools. Check each piece carefully, ensuring screws are tightened properly and moving parts are aligned. If you're unsure, refer to manuals or online guides specific to your tool model. This can save you time and prevent unnecessary frustration.
Functionality Check
Once your tools are reassembled, it's time for a functionality check. Test each tool to see if it works as expected. Are the moving parts smooth? Does the tool perform its task without hiccups? A personal story: I once reassembled a vintage saw, only to find it jammed on the first cut. A quick look revealed a slightly misaligned blade. After adjusting it, the saw worked perfectly. This taught me to always test tools before storing them away. Consider testing them on a small project or scrap material. This not only verifies functionality but also gives you confidence in your tool’s performance. What happens if a tool doesn’t work correctly? It's an opportunity to learn. Investigate the issue, make adjustments, and test again. Sometimes, these challenges can improve your understanding of how your tools work. Engaging with your tools in this manner builds a relationship. You become more attuned to their quirks and needs, ensuring they serve you well in future projects.
Storage Tips For Longevity
Proper storage extends the life of your old hand tools. Without care, tools can rust or degrade. Follow these storage tips to keep your tools in top shape. They will stay reliable and ready for use.
Climate Considerations
Store tools in a dry environment. Moisture causes rust. A garage or basement works well if kept dry. Use a dehumidifier to control moisture. Avoid storing tools near windows or doors where rain can seep in. High humidity speeds up rusting. Keep your tools safe from humidity.
Organizational Solutions
Organize tools to prevent damage. Use a pegboard for easy access. Each tool has its own place. Avoid stacking tools on top of each other. This prevents scratches and dents. Shelves and drawers offer more storage options. Label storage areas for quick identification. Organized tools are easier to find and maintain.
Frequently Asked Questions
How Do I Remove Rust From Hand Tools?
To remove rust from hand tools, use white vinegar or lemon juice. Soak the tools for a few hours, then scrub with a brush. Rinse and dry thoroughly to prevent future rust. For stubborn rust, use steel wool or sandpaper for extra cleaning.
What Is The Best Oil For Tool Maintenance?
For tool maintenance, use mineral or linseed oil. These oils effectively lubricate and protect metal surfaces from rust. Apply a thin layer with a cloth after cleaning. Ensure tools are dry before oiling to prevent moisture trapping, which can cause rust.
How Can I Clean Wooden Tool Handles?
Clean wooden handles using warm, soapy water and a soft cloth. Avoid soaking the wood, as excess moisture can cause swelling. Dry the handles immediately and apply a wood conditioner or linseed oil to maintain the wood's integrity and prevent cracking.
Can I Use Wd-40 On My Hand Tools?
Yes, WD-40 is great for cleaning and protecting hand tools. It helps remove rust and lubricate moving parts. Spray a small amount on the tool, then wipe with a clean cloth. Ensure tools are dry before applying to avoid moisture-related issues.
Conclusion
Cleaning old hand tools can be easy with the right steps. Regular care keeps them in great shape for years. Remember to use gentle cleaners and tools. Dry them well to prevent rust. Organize your tools for easy access. A clean tool is a happy tool.
Your efforts will pay off in long-lasting, reliable tools. Share these tips with friends who love tools too. Keep your workspace tidy and your tools ready. Enjoy working with your refreshed, clean hand tools.