Are you looking to master the art of cutting holes in wood using just hand tools? Whether you're a DIY enthusiast or a woodworking newbie, this skill is invaluable.
Imagine crafting furniture or decor with precision, using only the tools you can easily store and maintain. You don't need a high-tech workshop to achieve professional results. By learning these techniques, you'll feel empowered to create and customize projects with your personal touch.
Dive in to discover simple, effective methods that will transform your woodworking abilities and give you the confidence to take on any project. Your perfect cut awaits!
Essential Hand Tools
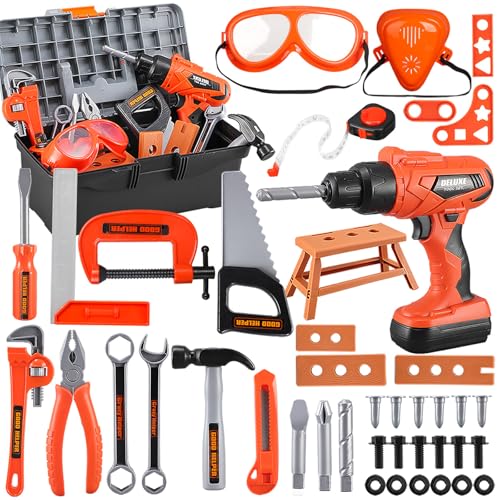
Creating a hole in wood requires simple hand tools like a hand drill or a saw. Mark the area precisely. Use a chisel to smooth the edges after cutting.
Cutting a hole in wood using hand tools can be both satisfying and precise. With the right tools, you can achieve clean, accurate cuts without the need for power tools. Hand tools offer control and a tactile experience that power tools often lack. Let's dive into the essential hand tools you need to master this craft.
Choosing The Right Saw
Choosing the right saw is crucial for a clean cut. A coping saw, with its thin blade, is perfect for intricate cuts and curves. For straight cuts, a handsaw with a fine tooth count will give you smoother edges. A personal tip: test the saw on a scrap piece of wood first. This will help you get a feel for the tool and avoid mishaps on your main piece.
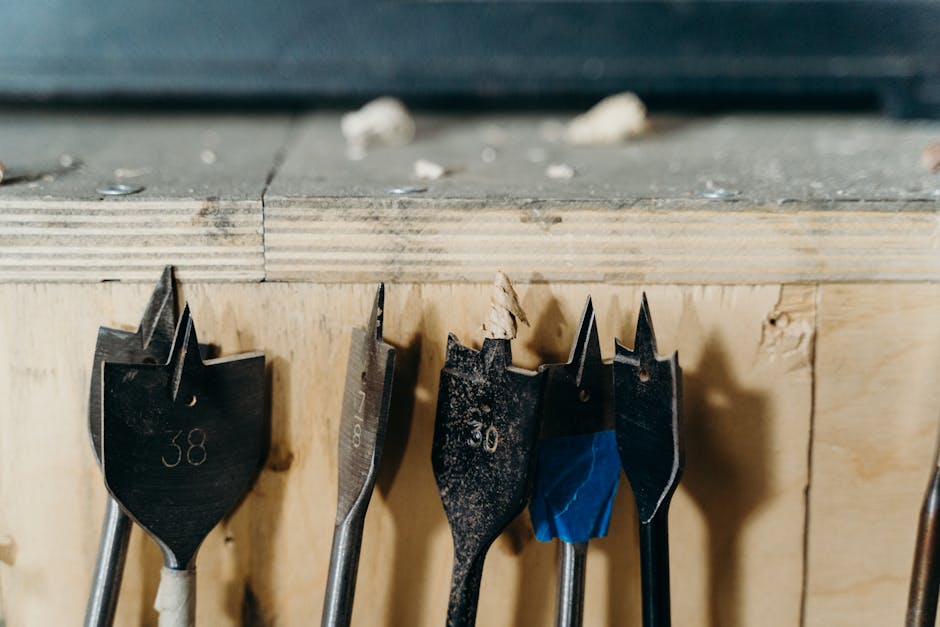
Drills And Augers
Drills and augers create precise holes with minimal effort. A hand drill allows for more control than its electric counterpart. Use an auger bit for larger, deeper holes. Have you ever used a brace and bit? It’s an old-school tool that provides excellent control, especially for larger holes. Try it out—you might find it surprisingly efficient.
Chisels And Gouges
Chisels and gouges are essential for refining and shaping your cuts. A sharp chisel can clean up edges and corners beautifully. Gouges, with their curved blades, are perfect for scooping out material. Remember to keep your chisels sharp. A dull blade can lead to accidents and rough finishes. If you’re unsure about sharpening, watch a few tutorials—it's a game-changer. What hand tools do you find most effective for cutting holes in wood? Experimenting with different tools can lead to unexpected results and new favorites. Embrace the process and enjoy the craftsmanship.
Safety Precautions
Cutting a hole in wood with hand tools requires careful attention to safety. Avoid accidents and ensure a smooth process. Proper safety measures help protect yourself and the wood. Understand the risks involved and take necessary steps. The right precautions make the task efficient and safe.
Protective Gear
Wear protective gear every time you cut wood. Goggles shield your eyes from flying particles. Gloves protect your hands from splinters. Keep your feet safe with sturdy shoes. Long sleeves can prevent scratches and bruises. A dust mask can keep your lungs safe from fine particles.
Safe Cutting Techniques
Use safe techniques to minimize risks. Secure the wood firmly before cutting. A stable surface prevents slipping. Choose the right tool for the task. A hand saw might be ideal for straight cuts. A chisel can carve out precise holes. Always check the tool's sharpness. Dull tools can lead to accidents.
Maintain a good grip on the tool. Keep your fingers away from the cutting area. Follow the wood grain for smoother cuts. Pay attention to your surroundings. Avoid distractions during the process.
Preparing The Wood
Crafting a perfect hole in wood with hand tools requires careful preparation. Begin by selecting the right tools, like a hand drill and chisel. Secure the wood firmly to avoid slipping, ensuring precise and clean cuts.
Preparing the wood is a crucial step when you want to cut a hole using hand tools. It sets the stage for a smooth and precise cut. Remember, a well-prepared piece of wood can make all the difference between a frustrating experience and a satisfying achievement. So, let’s dive into the essentials of preparing your wood for cutting.
Marking The Cut Area
First things first, you need to mark the area where you'll cut. Use a pencil or a marking tool that's easy to erase if you need to make adjustments. Grab a ruler or a measuring tape to ensure accuracy. Draw clear lines or a circle, depending on the shape of the hole you want. Precision is your friend here; take your time to ensure the marks are exactly where you want them. Ever tried to cut without proper markings? It’s like navigating a maze blindfolded. Avoid the unnecessary hassle by marking your wood correctly.
Securing The Wood
Securing the wood is a step you don’t want to overlook. A wobbly piece of wood can lead to mistakes and potentially ruin your project. Use clamps to hold your wood steady. This gives you control and prevents movement during cutting. Make sure the wood is on a stable surface. A solid workbench is ideal, but any sturdy, flat area will do. Have you ever had a piece slip while cutting? It’s not just annoying—it can be dangerous. Clamping your wood keeps you safe and improves your work quality. By carefully marking and securing the wood, you set yourself up for success. Have you ever found yourself skipping these steps in a hurry? What did that teach you about the value of preparation?
Cutting Techniques
Mastering the art of cutting a hole in wood with hand tools is rewarding. It requires precision, patience, and the right techniques. Understanding different cutting methods ensures clean and accurate results. This guide explores various techniques to achieve a perfect cut.
Using A Hand Saw
A hand saw is a versatile tool for cutting wood. Start by marking the hole's outline on the wood. Ensure your lines are clear and straight. Hold the saw firmly and align it with your marks. Use long, steady strokes to cut along the lines. Keep the saw at a consistent angle. This prevents the blade from binding. Regularly check your progress to stay on track.
Drilling Starter Holes
Drilling starter holes makes cutting easier. First, choose the right drill bit size. It should match the saw blade width. Mark the hole's center point on the wood. Drill a hole at each corner of the outline. These holes will guide the saw blade. Ensure the drill bit is perpendicular to the wood. This prevents angled cuts.
Finishing With A Chisel
A chisel refines and finishes the cut edges. Select a chisel that fits your hole size. Begin at the hole's edge. Carefully remove any rough or uneven wood. Use gentle taps with a mallet for control. Smooth the edges for a clean finish. Work slowly to avoid splintering. Regularly sharpen your chisel for best results.
Common Mistakes
Many often slip by using dull hand tools, leading to uneven cuts. Measuring mistakes can cause inaccurate hole sizes.
Cutting a hole in wood with hand tools can seem daunting, especially if you're new to woodworking. Many DIY enthusiasts make common mistakes that can lead to splintering wood or even damaged tools. With a little knowledge and care, you can avoid these pitfalls and achieve a clean cut.
Avoiding Splintering
Splintering is a common issue that can ruin the look of your project. One way to prevent this is by using a sharp tool. Dull blades tend to tear the wood rather than cut it. Always secure your wood piece with clamps before cutting. This keeps the wood stable and reduces the chance of splintering. Try scoring the cut line with a utility knife before using your saw. This creates a guide and helps the wood fibers stay intact. Are you applying too much pressure while cutting? Let the tool do the work. Excessive force can cause more splintering and uneven cuts.
Preventing Tool Damage
Tool damage can not only ruin your project but also your tools. Always check your tools for damage before starting a cut. Cracked handles or loose blades can lead to accidents. Keep your tools clean and dry. Rust and dirt can dull blades and make cutting more difficult. Regularly sharpen your tools to maintain their efficiency. Consider the type of wood you're working with. Hardwoods can be tougher on tools than softwoods. Using the wrong tool for the job can lead to unnecessary wear and tear. Do you know your tools well? Familiarity with your tools can prevent misuse and damage. Taking the time to avoid these common mistakes can make your woodworking journey smoother and more enjoyable. Do you have any other tips for cutting wood? Share them with us in the comments below!
Advanced Tips
Discover expert tips for cutting holes in wood using hand tools. Learn efficient techniques for precise, clean cuts. Get the most from basic tools with these simple, advanced methods.
Cutting a hole in wood with hand tools can be an art. With the right techniques, you achieve precise results. This section explores advanced tips for enhancing your skills. Focus on precision and understanding different wood types. These insights will refine your craftsmanship.
Precision Cutting
Precision is key in woodworking. Mark your cutting area clearly with a pencil. A sharp pencil helps make fine lines. Use a square to ensure straight edges. For circles, use a compass. Steady your hand and follow the line carefully. Use a coping saw for intricate cuts. Its thin blade allows for tight turns. Keep your saw sharp. It reduces effort and increases accuracy. Always cut on the waste side of the line. This leaves room for sanding and adjustments.
Working With Different Wood Types
Different woods require different approaches. Softwoods like pine cut easily. They need less force but can splinter. Use gentle pressure with softwoods. Hardwoods like oak require more strength. Use a finer saw blade for hardwoods. It helps in cutting cleanly. Consider the grain direction. Cutting against the grain is tougher. It can cause more tear-out. Always wear safety gear. Goggles protect your eyes from dust and splinters. Understanding the wood type helps in choosing the right tool.
Tool Maintenance
Maintaining your hand tools is crucial for a clean woodcut. Proper maintenance ensures precision and safety. Well-kept tools make your woodworking projects easier. Let's explore key aspects of tool maintenance.
Sharpening Blades
Sharp blades cut wood smoothly. Dull blades can damage your workpiece. Regular sharpening keeps tools efficient. Use a sharpening stone for best results. Follow the manufacturer's guidelines for angles. Consistency is key for a sharp edge. Test the sharpness on scrap wood. A clean cut means your blade is ready.
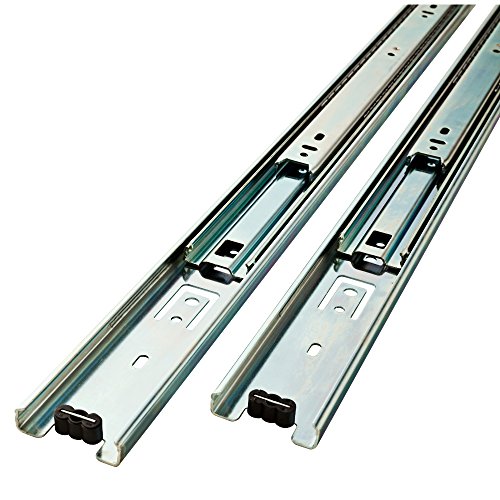
Proper Storage
Proper storage extends tool life. Keep tools in a dry place. Moisture causes rust and damage. Use a toolbox or cabinet for organization. Avoid stacking tools to prevent scratches. Keep tools away from children for safety. Regularly inspect tools for rust. A quick wipe with oil prevents corrosion.
Frequently Asked Questions
What Tools Are Best For Cutting Holes In Wood?
Hand tools like a drill and a hand saw are ideal for cutting holes. A brace with an auger bit or a spade bit can help create clean holes. For precision, use a coping saw to refine edges. These tools ensure accuracy and control without requiring power.
How Can I Drill A Hole Without A Drill?
You can use a hand auger or a brace with a bit to create holes. These tools require manual effort but offer control and precision. Push the auger or bit into the wood and turn it steadily. It's an effective method for small, precise holes without needing electricity.
Is Cutting Wood By Hand Difficult?
Cutting wood by hand is manageable with the right tools and technique. Use a sharp saw and mark your cut lines clearly. Apply steady pressure and follow the guide marks. Practicing beforehand can improve your accuracy and ease. It requires patience but is achievable for most DIY enthusiasts.
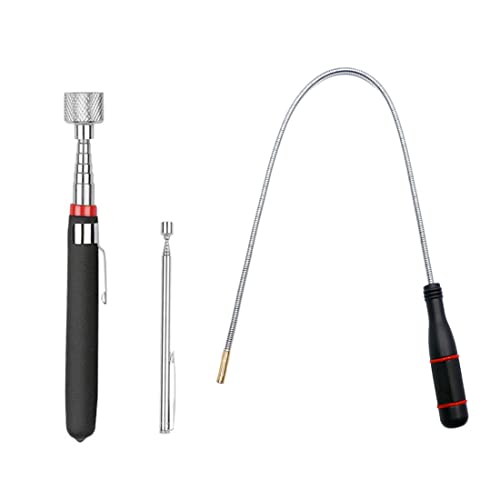
How Do You Start A Hole In Wood Manually?
To start a hole manually, use an awl or a nail to mark the spot. This helps guide the drill bit or auger. Apply steady pressure to penetrate the surface. Once the hole begins, switch to your chosen tool to continue cutting.
This technique ensures precision from the start.
Conclusion
Cutting a hole in wood with hand tools is simple. Follow the steps carefully. Use the right tools for each task. Practice makes you better. Always prioritize safety. Wear protective gear. Keep your tools sharp and clean. Take your time.
Avoid rushing the process. Enjoy the satisfaction of a job well done. Woodworking is rewarding. It connects you with tradition. Each project tells a story. Share your experience with others. Inspire them to try it too. Happy woodworking!