Imagine creating a beautiful piece of furniture with just your hands and a few simple tools. Sounds intriguing, right?
If you've ever wanted to make a small dresser but felt put off by the need for power tools, you're in the right place. In this guide, you'll discover how to craft a stunning dresser using only basic, manual tools.
This means you can work at your own pace, enjoy the process, and create something truly unique without the buzz and noise of electric gadgets. By the end of this article, you'll not only have a newfound confidence in your woodworking skills but also a charming dresser that you can proudly say you made yourself. Ready to get started? Let's dive into this rewarding project together!
Materials And Tools Needed
Crafting a small dresser without power tools requires basic materials like wood, nails, and wood glue. Essential tools include a hammer, screwdriver, handsaw, and sandpaper. These items ensure a smooth assembly process and a sturdy final product.
Creating a small dresser without power tools might seem challenging, but with the right materials and tools, it's absolutely achievable. Imagine the satisfaction of crafting a piece of furniture with your own hands using simple hand tools. This section will guide you through what you need to get started, ensuring your DIY project is both enjoyable and successful.
Essential Materials
To build your dresser, start with quality wood. Pine or oak are great choices for beginners due to their durability and ease of handling. You'll need enough wood for the frame, drawers, and top surface. Additionally, gather screws and nails to hold the pieces together securely. Consider using dowels if you want a more seamless look. Sandpaper is crucial for smoothing out rough edges and creating a polished finish. Have a variety of grits on hand to achieve the best results. Wood glue will help in reinforcing joints and ensuring your dresser's stability. Choose a strong adhesive that suits the type of wood you are working with. Finally, don't forget the hardware. Drawer pulls or knobs add personality and functionality to your dresser.
Basic Hand Tools
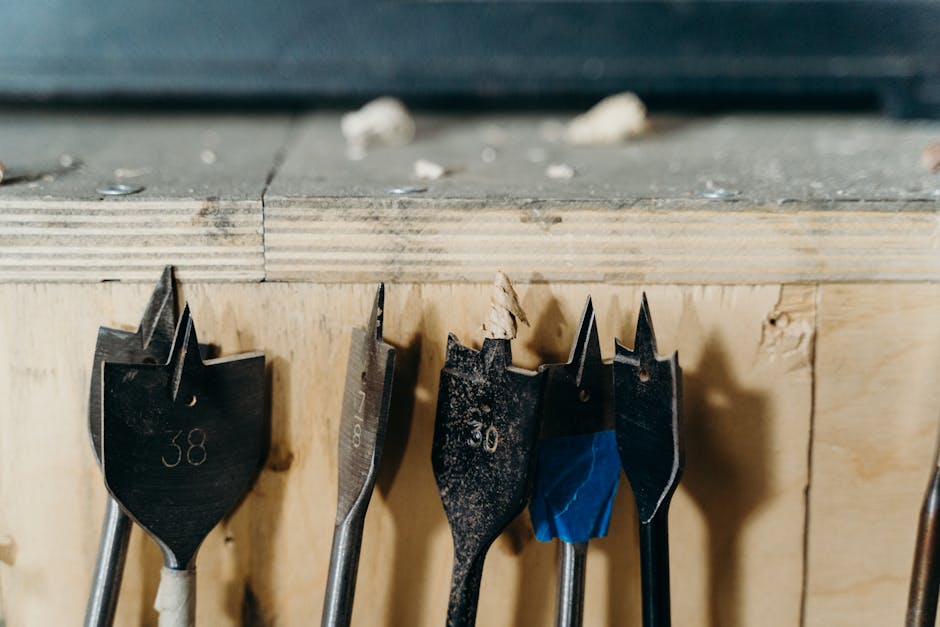
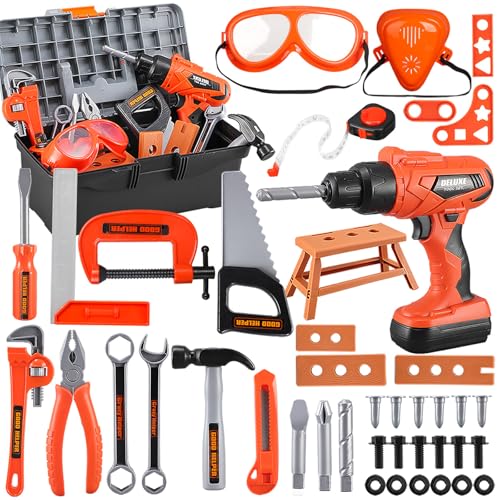
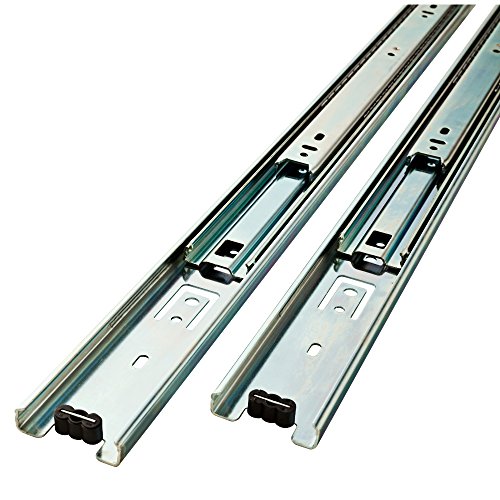
Equipping yourself with the right hand tools is vital. A hammer and screwdriver are your go-to for assembling the dresser. Choose a screwdriver that matches the head type of your screws. A handsaw will be your primary tool for cutting wood. Practice making straight cuts to ensure your pieces fit together perfectly. Use a chisel for detailing work, such as creating slots for the drawer slides. It's a handy tool for refining your woodwork. A measuring tape is indispensable for ensuring accuracy in your dimensions. Double-check your measurements before making any cuts. A square tool helps you maintain perfect angles, essential for a professional-looking piece. Finally, a set of clamps will secure your pieces while the glue dries, ensuring everything stays in place. By thoughtfully selecting your materials and tools, you're setting the stage for a rewarding project. As you work, you'll learn new skills and appreciate the craftsmanship involved. Have you ever tackled a project like this before? What did you learn from it?
Choosing The Right Wood
Choosing the right wood for your small dresser project is crucial. It not only impacts the look and feel but also determines how easy it will be to work with, especially when you're relying solely on hand tools. Whether you're a seasoned DIYer or a beginner, picking the right wood can make all the difference in your project’s success.
Types Of Wood
When you think about wood, you might picture a basic plank. But there are numerous types, each with its own characteristics. Oak, for example, is sturdy and can handle a bit of wear and tear. Pine, on the other hand, is softer and easier to shape. It's perfect for beginners who might not have the finesse just yet. Maple offers a beautiful finish but might be a bit tricky to work without powered help.
Consider what's available at your local lumberyard. Sometimes, you can find hidden gems that aren't mainstream but offer unique textures. Birch is another option that’s smooth and easy to manipulate. It might surprise you with its versatility and how well it accepts paint or stain.
Sustainable Options
Have you ever thought about where your wood comes from? Choosing sustainable options means you're doing your part for the environment. Bamboo, for instance, is technically a grass but works like wood. It grows quickly, making it a sustainable choice. Reclaimed wood is another great option. It not only tells a story but is also environmentally friendly.
Look for FSC-certified wood; it ensures the wood was harvested responsibly. You might pay a bit more upfront, but knowing you're making an eco-friendly choice can be rewarding. Plus, sustainable wood can add character to your dresser, making it truly one-of-a-kind.
What kind of dresser do you envision? One that's robust or something more delicate and refined? Your choice of wood will guide your project. Remember, the right wood can simplify your work and enhance your final piece. Happy woodworking!
Designing Your Dresser
Designing your dresser involves creativity and careful planning. A well-thought-out design can transform simple materials into a functional piece of furniture. Creating a dresser without power tools may seem daunting, but with the right approach, it becomes a rewarding project. Focus on the design to ensure your dresser suits your space and needs. Consider every element, from style to functionality, to make it unique and personal.
Simple Design Tips
Start with inspiration. Look at existing dresser designs for ideas. Simple lines and shapes work best for hand-built furniture. Choose a style that matches your home decor. Rustic, modern, or vintage? Decide early. Think about the finish. Paint or stain can dramatically change the look. Keep your tools in mind. Opt for designs that require basic hand tools. Avoid complex joints or intricate details.
Measuring And Planning
Accurate measurements are crucial. Use a reliable measuring tape. Sketch your design on paper. Visualize your dresser's dimensions and proportions. Consider the space where your dresser will sit. Measure height, width, and depth accurately. Plan the number of drawers and their sizes. Ensure each drawer fits well within the frame. Think about storage needs. Larger drawers for bulkier items? Smaller ones for accessories? Decide based on your requirements.
Cutting Wood By Hand
Crafting a small dresser by hand involves precise wood cutting. Using simple tools like saws and chisels, you can shape each piece. Assemble the dresser with care, ensuring stability and functionality without relying on power tools. This method adds a personal touch and satisfaction to your furniture creation.
Cutting wood by hand may seem daunting, especially if you're used to the speed and ease of power tools. However, there's a unique satisfaction in crafting something with just your hands. It's a slower process, but it allows for precision and a deeper connection with your project. Let's explore how you can cut wood without plugging anything in, focusing on using a hand saw and keeping safety in mind.
Using A Hand Saw
A hand saw is your best friend when it comes to cutting wood manually. It’s a versatile tool that can handle different types of cuts, from straight lines to curves. Start by choosing the right saw for your project. A crosscut saw is perfect for cutting across the grain, while a rip saw is better for cutting along the grain. When you’re ready to cut, ensure your wood is firmly clamped to a stable surface. This keeps your hands free and your work steady. Use slow, deliberate strokes to guide the saw through the wood. You'll find that the rhythm becomes almost meditative.
Safety Precautions
Safety should always be a priority when working with hand tools. Begin by wearing protective gloves and goggles to shield your hands and eyes from splinters. Ensure your workspace is clean and well-lit. A cluttered area can lead to accidents. Think about what might happen if your saw slips. Are there sharp objects nearby that could cause harm? Always inspect your saw before use. A dull blade can be more dangerous than a sharp one because it requires more force, increasing the chance of mishaps. Have you thought about your posture? Keeping your back straight and feet shoulder-width apart will give you stability and control. Cutting wood by hand is more than just a task; it's an experience. It requires patience and attention to detail. But the end result—a beautiful dresser made with your own hands—is worth every stroke of the saw.
Assembling The Frame
Crafting a small dresser by hand starts with assembling the frame. Begin by laying out the wooden pieces. Secure them using a hammer and nails, ensuring stability. This basic structure forms the backbone of your dresser, ready for shelves and drawers.
Building a small dresser without the aid of power tools might sound like a daunting task, but it can be a rewarding experience. Assembling the frame is an essential step in this project. You lay the groundwork for a sturdy and functional piece of furniture that you can proudly say you built with your own hands. The process involves understanding how to connect pieces of wood securely and ensure the structure can withstand daily use.
Joining Techniques
When assembling the frame, the joining techniques you choose are crucial. One simple yet effective method is the use of wood glue combined with dowels. Dowels are small cylindrical rods that fit into drilled holes, providing extra strength to your connections. Another technique is the mortise and tenon joint, which is a classic choice for woodworking. It involves inserting a protruding tenon into a mortise hole. This joint is incredibly strong without needing screws or nails. A third method is using brackets or braces, especially if you're new to woodworking. These small metal pieces can help align corners and provide additional stability.
Securing Joints
Securing the joints ensures your dresser's frame remains stable over time. Always apply a generous amount of wood glue to the joining surfaces. This glue acts as a binder, keeping the wood pieces together even if subjected to weight or pressure. Once the glue is applied, use clamps to hold the pieces firmly in place while the glue dries. Clamps are invaluable in woodworking, as they ensure that your joints set correctly without shifting. Consider adding small wooden pegs or dowels through the joints for added security. These can be tapped into place, offering an extra layer of strength. Taking your time to secure each joint properly is worth the effort. Have you ever wondered why some furniture lasts for decades while others fall apart in years? The secret often lies in the quality of the joints and how well they were secured.
Creating Drawers
Creating drawers for a small dresser without power tools offers a unique challenge. This task allows you to apply creative woodworking techniques and skills. The process is rewarding and yields a handcrafted piece with a personal touch.
Fitting And Alignment
Start by ensuring the wood pieces for each drawer are precisely cut. Use a hand saw and a measuring tape for accuracy. Smooth edges with sandpaper for a snug fit. The pieces should align perfectly to form the drawer box. Check each corner with a square tool. Confirm all sides are even and true.
Secure the corners with wood glue and clamps. This holds the structure firm while drying. To enhance stability, add small nails manually. Hammer them gently to avoid splitting the wood. Recheck the alignment after securing. Adjust as needed to maintain perfect fitting.
Handcrafted Handles
Designing handcrafted handles adds charm to your dresser. Choose a durable wood for handles. Carve simple shapes using a whittling knife. Rounded shapes are easy to grip and pleasant to the touch. Sand the edges for smoothness and comfort.
Drill small holes manually in the drawer front. Use a hand drill for precision and control. Insert screws through the handle into these holes. Tighten them with a screwdriver. Ensure the handles are firmly attached and functional. Test each handle for secure fit and ease of use.
Finishing Touches
After assembling your small dresser, it's time for the finishing touches. These steps ensure your project looks polished and professional. Each detail enhances the dresser's appearance and durability. Focus on sanding and applying finishes to achieve a smooth and attractive look.
Sanding And Smoothing
Sanding removes rough spots and evens out surfaces. Use sandpaper with a fine grit for the best results. Work in circular motions to avoid scratches. Check for rough edges or splinters as you sand. Smooth surfaces feel pleasant and look refined. Spend extra time on corners and edges. These areas often require more attention.
Applying Finishes
Choose a finish that suits your style and needs. Paint offers vibrant colors and protection. Stains enhance the wood's natural beauty. Apply finishes with a brush or cloth. Test your finish on a small area first. Ensure it dries to your satisfaction. Apply multiple coats if needed. Allow each coat to dry fully before adding another. Finishes protect your dresser and add visual appeal.
Maintenance Tips
Building a small dresser without power tools is rewarding. Caring for it enhances its longevity. Proper maintenance keeps it looking beautiful for years. It prevents wear and tear. Regular care and repairing scratches are vital. These tips ensure your dresser stays in top shape.
Regular Care
Dust your dresser weekly with a soft cloth. This prevents dirt buildup. Use a gentle cleaner for deeper cleaning. Avoid harsh chemicals that damage wood. Ensure the dresser is kept dry. Moisture can warp the wood. Place the dresser away from direct sunlight. Sunlight fades the finish over time.
Check for loose joints regularly. Tighten them using a screwdriver. This keeps the structure strong. Apply furniture polish once a month. It maintains the shine and protects the surface. Use a polish suitable for wood. Test on a small area first.
Repairing Scratches
Small scratches can be repaired easily. Use a color-matched wood filler. Apply it with a fine brush. Allow it to dry completely. Sand the area lightly. This smooths the surface.
For deeper scratches, use wax sticks. Choose a color that matches the wood. Rub the wax over the scratch. Buff the area with a soft cloth. This blends the repair with the rest of the dresser.
Regularly inspect the dresser for new scratches. Address them promptly to prevent further damage. Maintaining your dresser keeps it looking new and extends its life.
Frequently Asked Questions
What Tools Do I Need To Make A Dresser?
To make a small dresser without power tools, you'll need a handsaw, hammer, nails, screwdriver, wood glue, and a measuring tape. These basic tools are sufficient for constructing a sturdy and functional dresser.
How Long Does It Take To Build A Dresser?
Building a small dresser manually can take around 10 to 15 hours. The time depends on your experience level. Taking breaks and working methodically will ensure better results.
Can Beginners Make A Dresser Without Power Tools?
Yes, beginners can make a dresser without power tools. Start with a simple design and follow a step-by-step guide. Patience and attention to detail are key to success.
What Type Of Wood Is Best For Dressers?
Pine, oak, and maple are great choices for making dressers. These woods are durable and easy to work with. Choose wood based on your budget and desired finish.
Conclusion
Creating a small dresser without power tools is possible and rewarding. With patience and simple techniques, you can craft furniture that suits your needs. Focus on using quality materials and precise measurements. Take your time with each step. Enjoy the process as you build something unique and practical.
This project offers a great way to improve your skills. Handcrafted items hold special value and charm. Anyone can make furniture with basic tools and determination. Your finished dresser will reflect your effort and creativity. Keep exploring new projects and ideas.
Happy crafting!