Ever found yourself on the golf course, staring at a pesky ball mark on the green, unsure of how to fix it? You're not alone.
Many golfers overlook the importance of properly repairing ball marks, but doing so can dramatically improve your game and the playing conditions for everyone. When you know how to use a ball mark repair tool effectively, not only do you keep the greens in top shape, but you also boost your reputation among fellow players.
Imagine stepping onto a flawless green, thanks to your newfound skills. It's a small action with a big impact, and we're here to guide you through it step-by-step. By the end of this article, you’ll be equipped with the know-how to maintain the course like a pro. Let's dive into the art of repairing ball marks and transforming your golfing experience.

Credit: www.usga.org
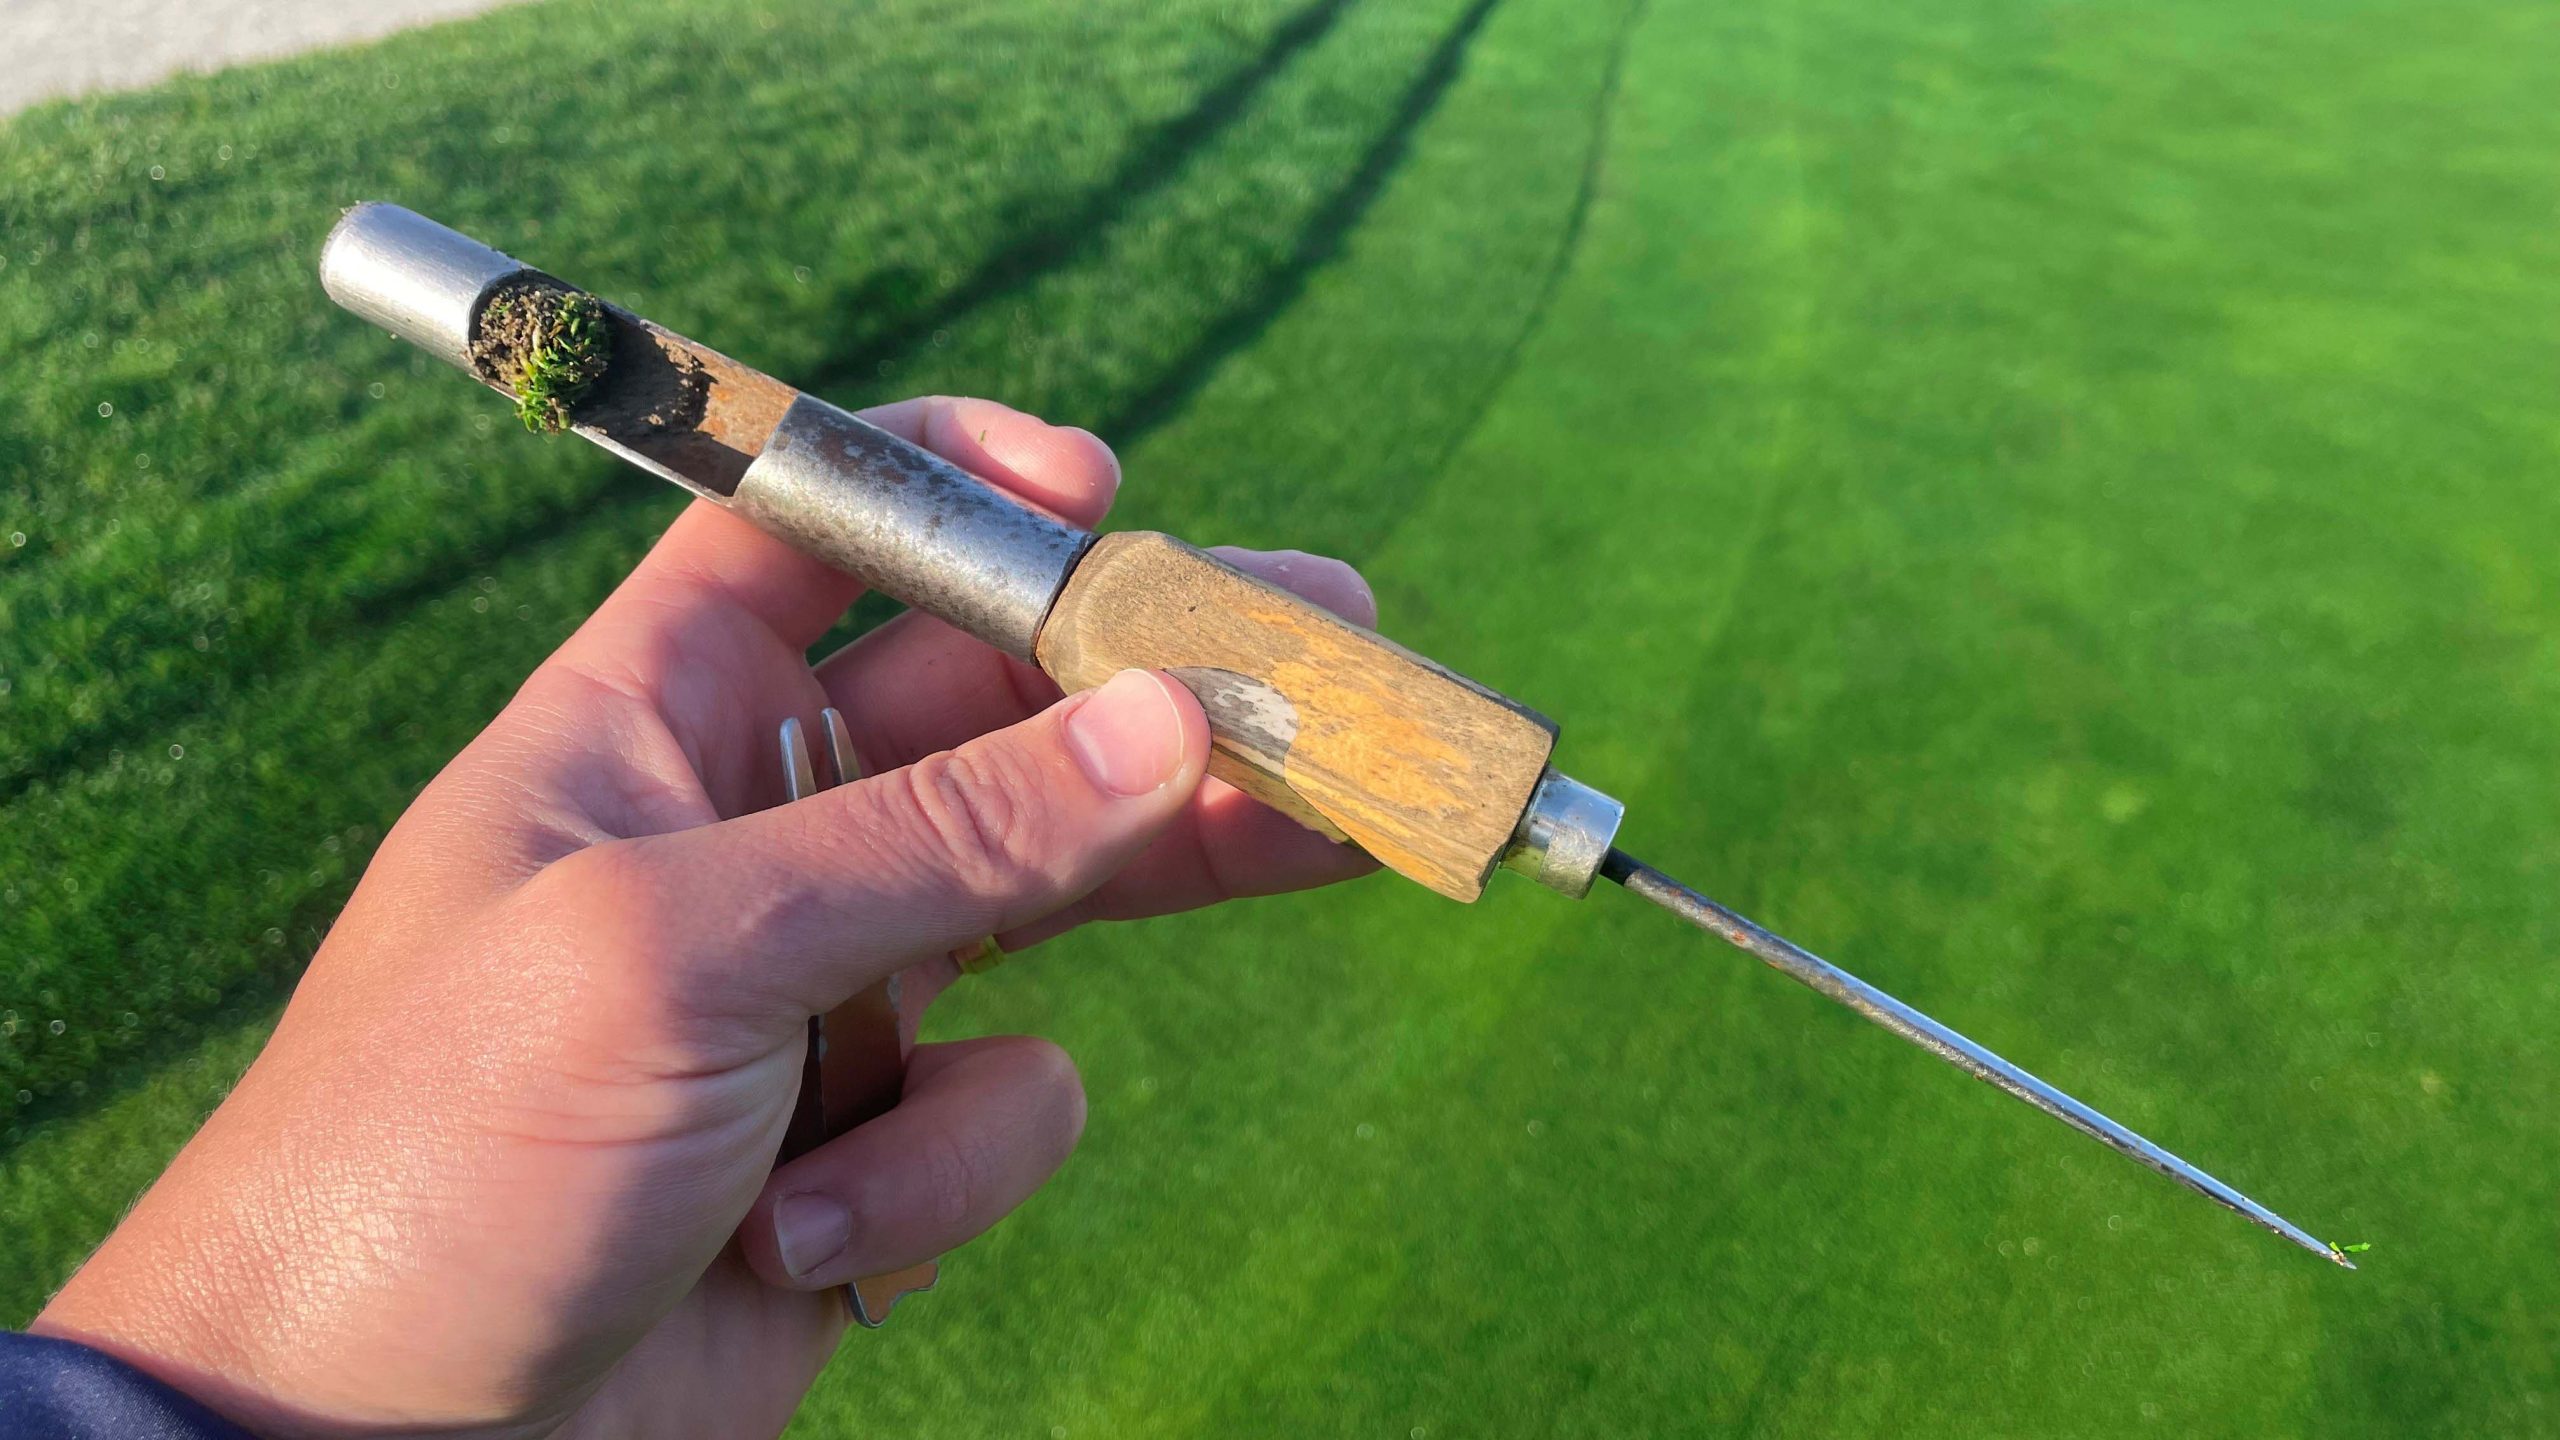
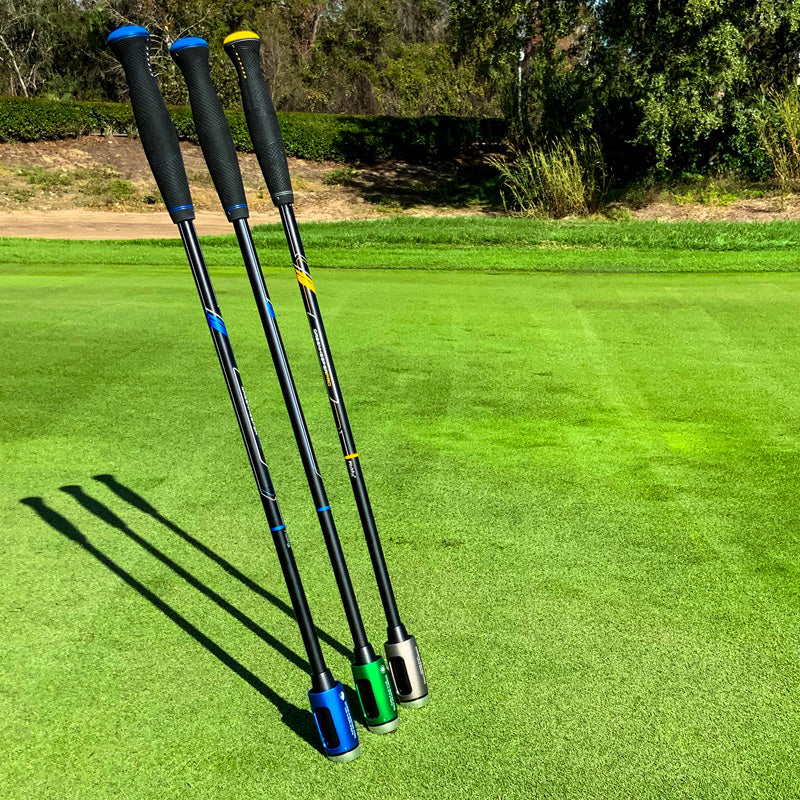
Choosing The Right Ball Mark Repair Tool
Choosing a ball mark repair tool ensures smooth greens. Use it by gently pushing the edges toward the center. This simple action keeps the golf course in great condition and enhances play.
Choosing the right ball mark repair tool is essential for maintaining the greens. Golfers know the importance of fixing ball marks promptly. It preserves the grass and enhances the playing experience. Selecting the right tool can make this task effortless.
Types Of Repair Tools
Different tools are available for fixing ball marks. Traditional divot tools have a fork-like design. They are easy to use and widely popular. Some golfers prefer pitch forks, which have two prongs. A newer option is the T-tool. It features a unique design that offers precision. Knowing the types helps in choosing the best fit.
Material Considerations
Materials affect the tool's durability and effectiveness. Stainless steel tools resist rust and last long. Plastic tools are lightweight but can break easily. Aluminum offers a balance between strength and weight. A good grip ensures ease of use. Materials also influence the tool's feel in hand. Consider these factors when picking your tool.
Size And Design Features
Size matters in ball mark repair tools. Compact tools fit easily into pockets or bags. Larger tools may offer better grip but can be cumbersome. Design features like ergonomic handles improve comfort. Some tools have retractable prongs for safety. Others include built-in ball markers. Choose a tool that suits your needs and style.
Credit: www.paraide.com
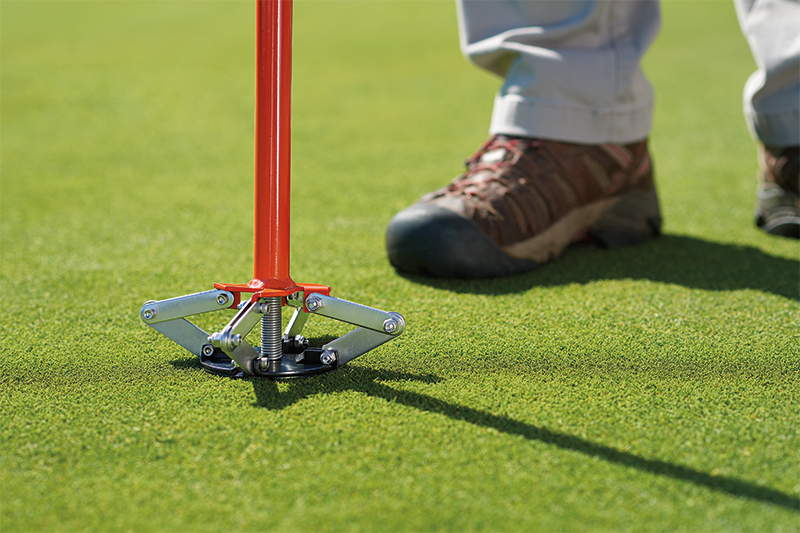
Preparing To Repair Ball Marks
Using a ball mark repair tool properly keeps greens smooth and healthy. Position the tool behind the mark. Push gently forward to lift the turf. Smooth the surface with a putter to finish.
Repairing ball marks on the green is a vital skill for any golfer who respects the game and their fellow players. Preparing properly ensures you do a thorough job, leaving the course in excellent condition for those who come after you. It’s a small act that reflects your commitment to preserving the beauty and playability of the greens.
Assessing The Damage
Before jumping in with your repair tool, take a moment to assess the damage. Is the ball mark deep or shallow? Understanding the extent of the damage helps you decide how much effort you need to apply. Sometimes, what appears to be a minor indentation may require a bit more attention. Looking closely, you might notice the grass around the mark is slightly discolored or flattened. This can guide your repair technique. Have you ever noticed that the more you rush, the more likely you are to miss these subtle cues?
Cleaning The Area
You wouldn't start painting on a dirty canvas, would you? Similarly, cleaning the area around the ball mark is crucial. Remove any loose grass or debris that may have fallen into the mark. This ensures a cleaner repair and a smoother surface. It’s easy to skip this step when you’re eager to continue your game, but taking a few extra seconds can make all the difference. Imagine the satisfaction of knowing you’ve left the green in pristine condition for the next player.
Positioning Yourself Correctly
Your stance matters. Position yourself so that you're comfortable and stable, ensuring you have the best angle for repair. Kneeling or squatting can give you the right leverage and visibility. Have you ever tried fixing a mark while standing awkwardly? It can lead to a half-hearted job. Think about how your posture affects not just your golf swing but every interaction with the course. A solid position ensures precision and care in your repair efforts. Taking the time to prepare properly shows your respect for the game and the course. What other simple actions can you take to be a more considerate player?
Step-by-step Repair Process
Learn the step-by-step process to use a ball mark repair tool efficiently. Start by inserting the tool around the mark's edge, gently lift the grass, and smoothen the surface. Keep the green looking pristine with these easy steps.
Repairing a ball mark on the golf course may seem like a small task, but it’s vital for keeping the greens in top condition. If you’ve ever been frustrated by a bumpy putt caused by an unrepaired ball mark, you know why this is important. Let’s dive into the step-by-step process to ensure you leave the course in better shape than you found it.
Inserting The Tool
Start by identifying the ball mark on the green. Hold your ball mark repair tool with the prongs facing downwards. Insert the tool just outside the edge of the depression at a 45-degree angle. Avoid inserting it directly into the center of the mark. This mistake can damage the root structure of the grass. By inserting at the edge, you support the grass without tearing it.
Lifting And Flattening The Turf
Once the tool is inserted, gently push it towards the center of the mark. This action lifts the surrounding turf back into place. Repeat this process around the entire mark. Be gentle to avoid tearing the roots. Your goal is to encourage the grass to heal naturally.
Smoothing The Surface
After lifting the turf, use your putter or foot to gently tap the area. This helps level out the surface. Ensure the repaired area is flush with the rest of the green. An uneven surface can affect your fellow players' putts. Have you ever thought about how a simple act like this can impact the playability of the course? By taking these few seconds to repair a ball mark, you contribute to a smoother game for everyone. Next time you’re on the green, imagine the satisfaction of knowing you’ve made the course better for the golfer behind you. Isn’t that a rewarding thought?
Common Mistakes To Avoid
Repairing ball marks on the green is crucial for maintaining course quality. Many golfers make common mistakes when using a ball mark repair tool. Avoiding these errors can ensure healthier turf and better play conditions.
Overlifting The Turf
One common mistake is lifting the turf too much. This damages the roots and creates a bump on the green. Press the tool gently into the grass. Lift just enough to realign the soil and turf.
Rushing The Process
Golfers often rush through the repair process. Haste leads to incomplete repairs and uneven surfaces. Take your time to work the soil back into place. A thorough repair promotes quicker turf recovery.
Ignoring Surrounding Turf
Another error is neglecting the surrounding grass. This can lead to isolated patches and weak spots. Make sure to smooth out the area around the mark. This helps integrate the repair with the surrounding turf.
Expert Tips For Effective Repairs
Repairing ball marks on the golf course is a skill worth mastering. Effective repairs ensure greens remain smooth and healthy. Expert tips can make this task easier and more efficient. Proper technique prevents further damage and maintains the quality of the course.
Choosing The Right Time
Timing is crucial for successful ball mark repair. Choose moments when the green is least crowded. Early mornings or late afternoons are ideal. This reduces interference with other players. Repairing marks immediately after they occur is best. Fresh marks are easier to fix. Delaying can lead to more damage.
Maintaining Your Tool
Keep your ball mark repair tool in good condition. A clean tool works better and lasts longer. Regularly wipe it down to remove dirt and grass. Check for any rust or wear. Replace damaged tools promptly. A sharp, intact tool ensures precise repairs.
Practicing Regularly
Practice makes perfect in ball mark repair. Regular practice improves your technique. Spend a few minutes each round repairing marks. Try different methods to see what works best. With time, your speed and accuracy will improve. Consistent practice leads to effective repairs.
Credit: pitchfix.com
Benefits Of Proper Ball Mark Repair
Proper ball mark repair keeps greens smooth and playable. Using a repair tool prevents turf damage and promotes healthy grass. Repairing marks swiftly helps maintain the course's quality for all golfers.
Proper ball mark repair on a golf course is more than just an act of courtesy; it’s a crucial practice that benefits everyone who enjoys the game. When you take a moment to fix ball marks, you not only enhance the aesthetic appeal of the course but also contribute to a more enjoyable and fair gameplay experience. Moreover, you play an essential role in maintaining the health of the turf, which is vital for the sustainability of the course. Let’s explore these benefits in more detail.
Improving Course Appearance
Imagine stepping onto a golf course that looks pristine, with lush, uninterrupted greens. Properly repaired ball marks make this vision a reality. They maintain the smooth, flawless appearance of the course, which is something every golfer appreciates. A visually appealing course not only boosts your mood but also enhances the overall experience for everyone, from beginners to seasoned players.
Enhancing Gameplay Experience
Have you ever been frustrated by an unpredictable ball trajectory due to uneven greens? By repairing ball marks, you help ensure the greens remain smooth and consistent. This directly affects your gameplay by providing a more reliable putting surface. When everyone does their part, you can focus on perfecting your game without the distraction of bumps and dents affecting your shots.
Contributing To Turf Health
Healthy turf is the backbone of any great golf course. Ball marks that are left unrepaired can lead to dead spots and damaged greens. By taking a few seconds to repair them, you help prevent diseases and promote better grass growth. This small act contributes significantly to the long-term vitality of the course, ensuring it remains a wonderful place to play for years to come. Repairing ball marks may seem like a minor task, but the benefits are significant. Have you noticed how a simple act can make such a difference? Next time you're on the course, remember the positive impact you can have, not just for yourself, but for every golfer who follows.
Frequently Asked Questions
What Is The Proper Way To Repair A Ball Mark?
Repair a ball mark by using a tee or repair tool. Insert it at the mark's edge. Gently push the surrounding grass toward the center. Avoid lifting the center soil. Tap the surface with a putter to smooth it. This ensures a faster green recovery.
What Is The Ball Mark Repair Rule?
The ball mark repair rule requires golfers to fix any marks their ball leaves on the green. Use a proper tool to gently lift and smooth the grass without tearing it. This helps maintain the green's quality for all players.
Always repair your mark before moving on.
How To Use A Ball Alignment Tool?
Place the ball alignment tool on the ball. Align the tool's line with your desired putting path. Use it to guide your stroke for improved accuracy. Practice regularly for better results.
What Is The Augusta Method Of Repairing Ball Marks?
The Augusta method involves using a tee to push turf from the edge towards the center of the ball mark. Then, gently tap the area with a putter to smooth it out, ensuring the grass heals quickly. This technique helps maintain green quality and promotes fast recovery.
Conclusion
Using a ball mark repair tool is simple and beneficial. It keeps greens smooth and healthy. Follow the steps carefully for effective repairs. Insert the tool, lift the soil gently, and press down. This restores the surface and prevents damage.
Regular use of the tool shows respect for the course. It also enhances your playing experience. Golfers should make this tool part of their routine. A well-maintained green offers better performance. Everyone contributes to a better course. Enjoy your game with smooth and well-kept greens.
Happy golfing!